Showing posts with label quilting. Show all posts

Wednesday, May 22, 2013

Medallion Quilt Top Done!

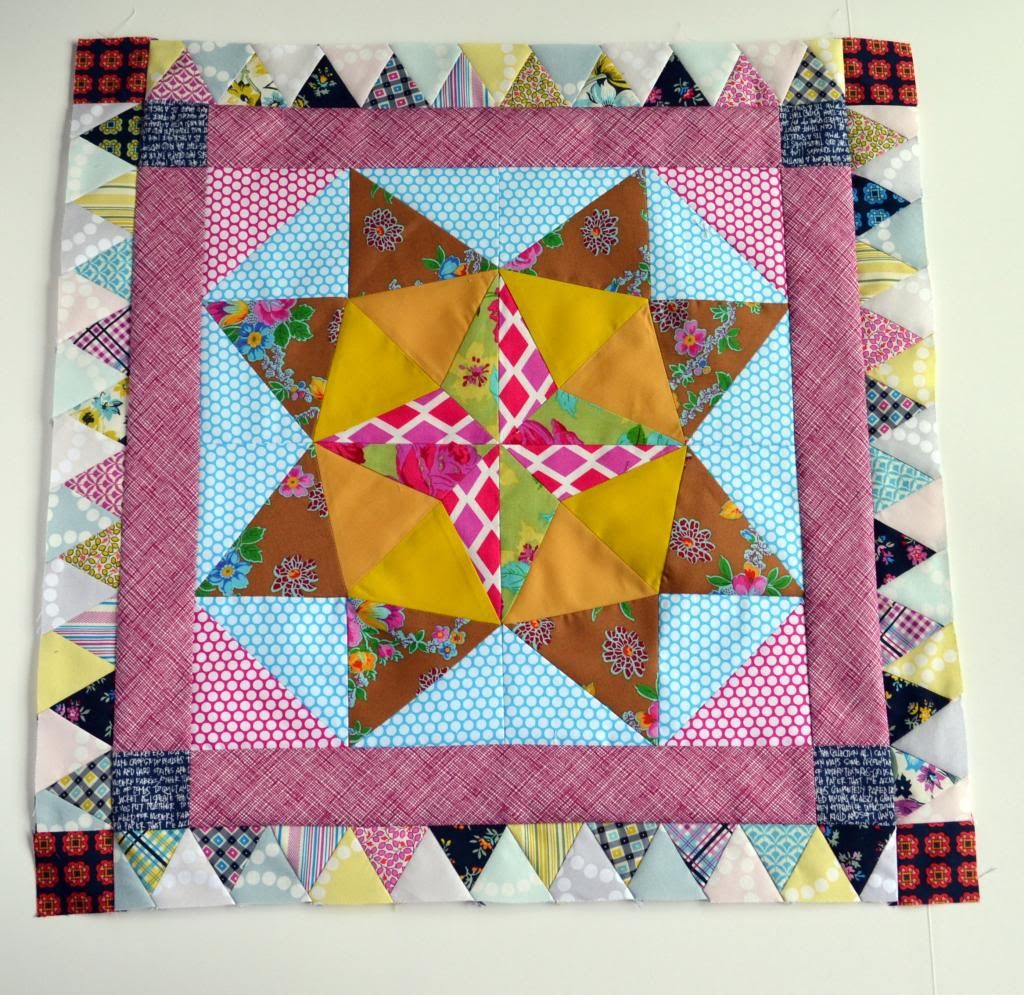
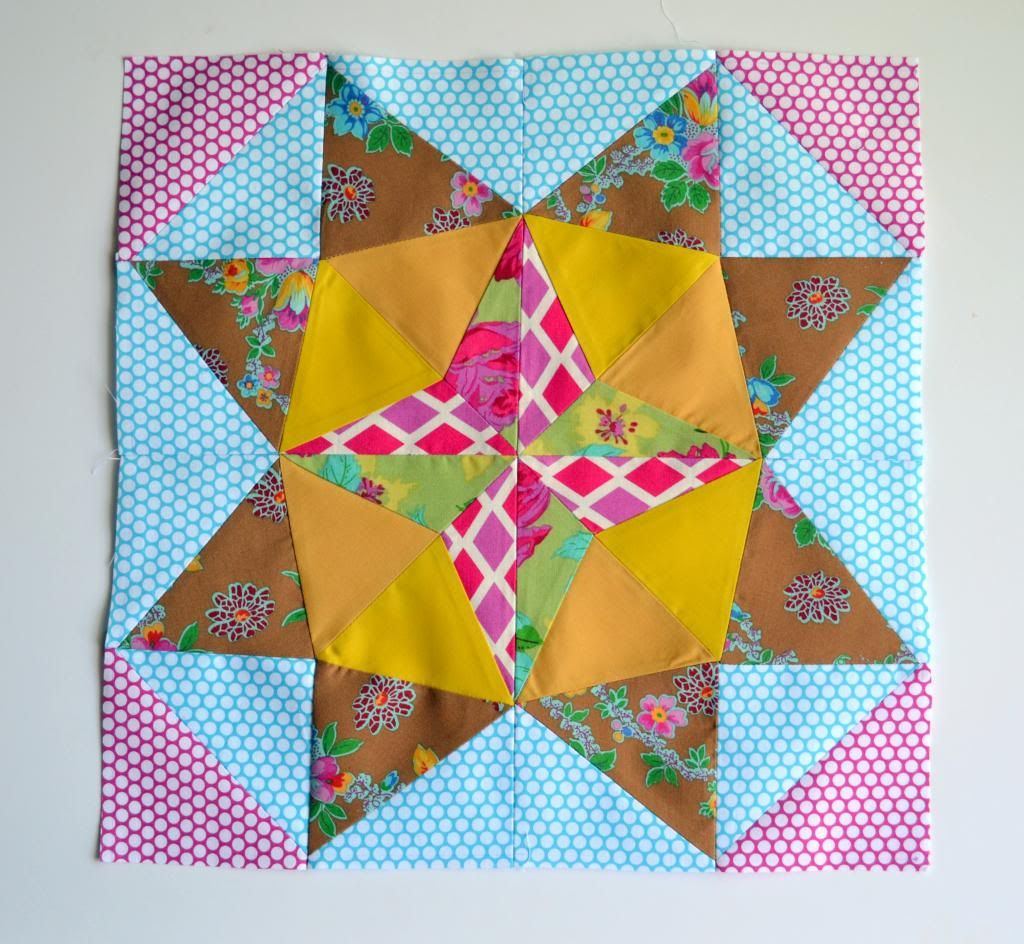
With classes all done I finally was able to get working on the Marcelle Medallion Quilt again.
For those of you who don't know about this awesome quilt it is from Liberty Love
A book by Alexia Marcelle Abegg.
It's a great book with 25 must do sewing projects including quilts, clothing, and bags.
There are even a few projects for the hubby and Fido too!

At first I thought I would do each boarder in a different fabric collection/color.
But, I just fell in love with the way Shelburne Falls, Pearl Bracelet, and Architextures
worked together.
So why quit a good thing?
 I just kept going with it and used up all my stash of that great
 crosshatch from architextures :(

Liberty Love

I thought that the cross block border would be my least favorite out of the whole quilt.  
Turns out it was my favorite!
Of coarse as soon as I laid it out Sophie had to come test it out.


As I was attaching the last boarder it dawned on me that now I have to figure out how to quilt it.
oh no!  What to do?

 by Half Stitched

Overall I really loved piecing this quilt.  I was shocked how forgiving the piecing was.  There is more than one seam that didn't quit match up and even a pearl bracelet piece or two that is even sewn in wrong side up. shhhh...don't tell anybody.

While I'm trying to figure out how I want to quilt this thing I'm preparing for the local monthly craft show in town.  I'm trying to figure out what I would like to make for it.  I have a few quilts that I will sell but I need more than just a few quilts.
I made a few bags like these...


Have you ever sold at an art market? 
What types of items sold the best for you? Or what have you bought that was a must have ?
I would really appreciate any input!!!

Thursday, March 28, 2013

Marcelle Medallion Quilt Border 3... I need Your Opinion!

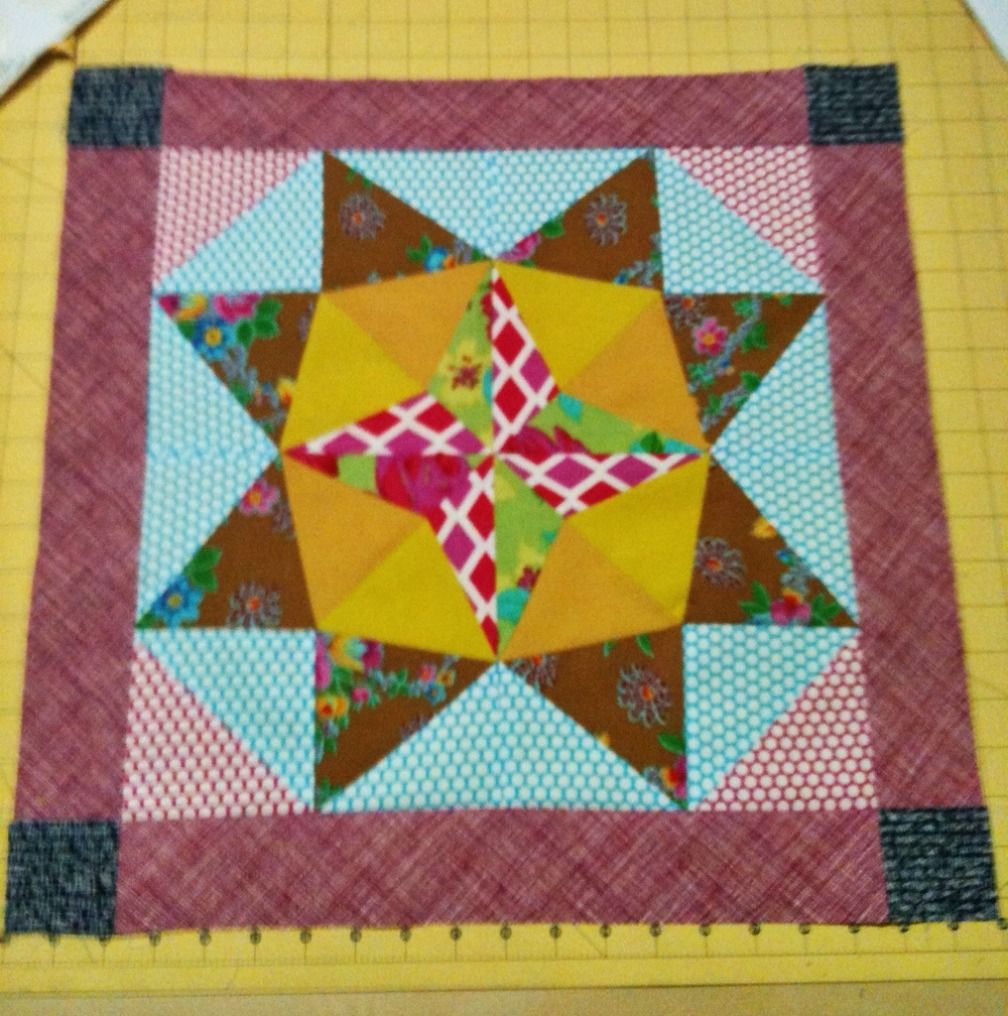
My Marcelle Medallion quilt is coming right along.  I easily added the first border without much contemplation on fabric choice.
I took this picture with my phone so it's a little blurry.

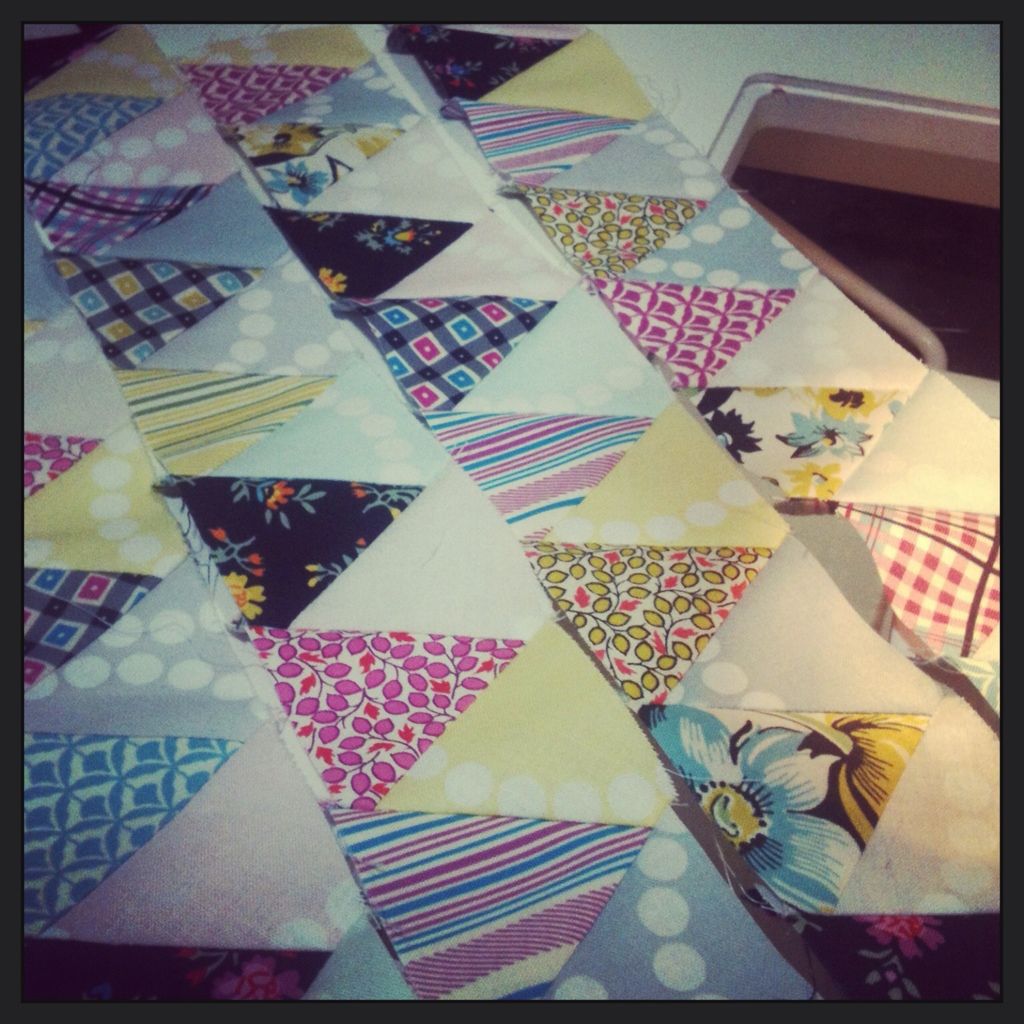
 I struggled a little bit with what fabrics to use for the triangle border though.  I needed to decide if i wanted a total scrappy look and dive into my fabric scraps or more of a unified look.


Since i just loved the color scheme so far, i went with the unified look.  Sadly :( i don't have many low volume (light colored) fabrics so i went with the lighter colors of Pearl Bracelet fabric line and hoped they wouldn't turn out too bright.  Shelburne Falls turned out to have the perfect colors for what i had so far.

 I stayed up too late to finish piecing.  And even though it was late (i started late to begin with) it went really fast.


And i LOVE how it turned out!  

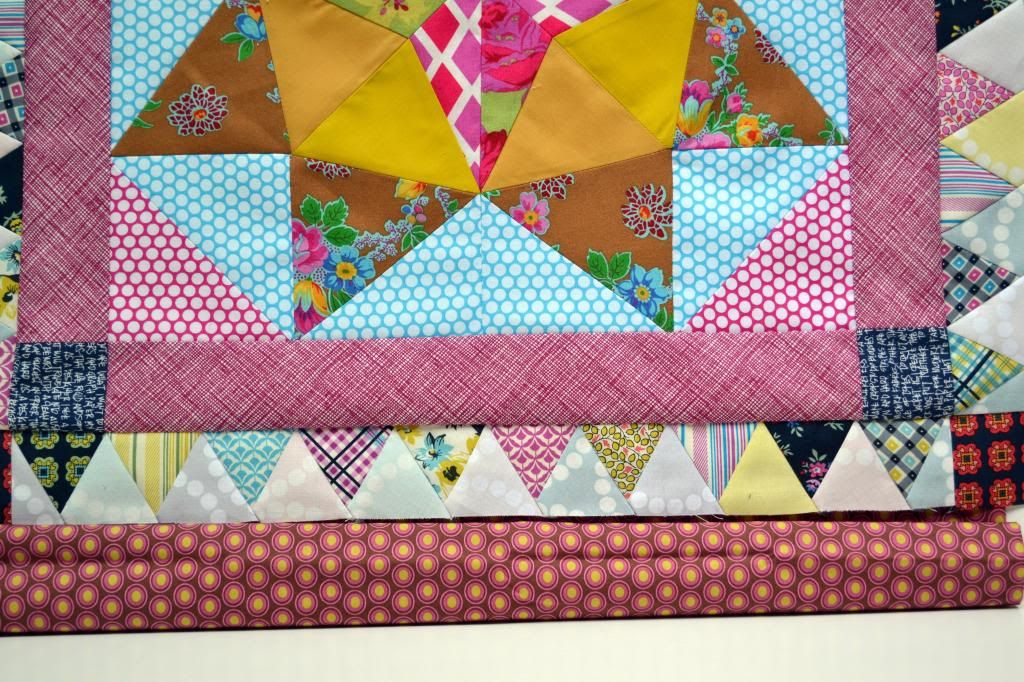
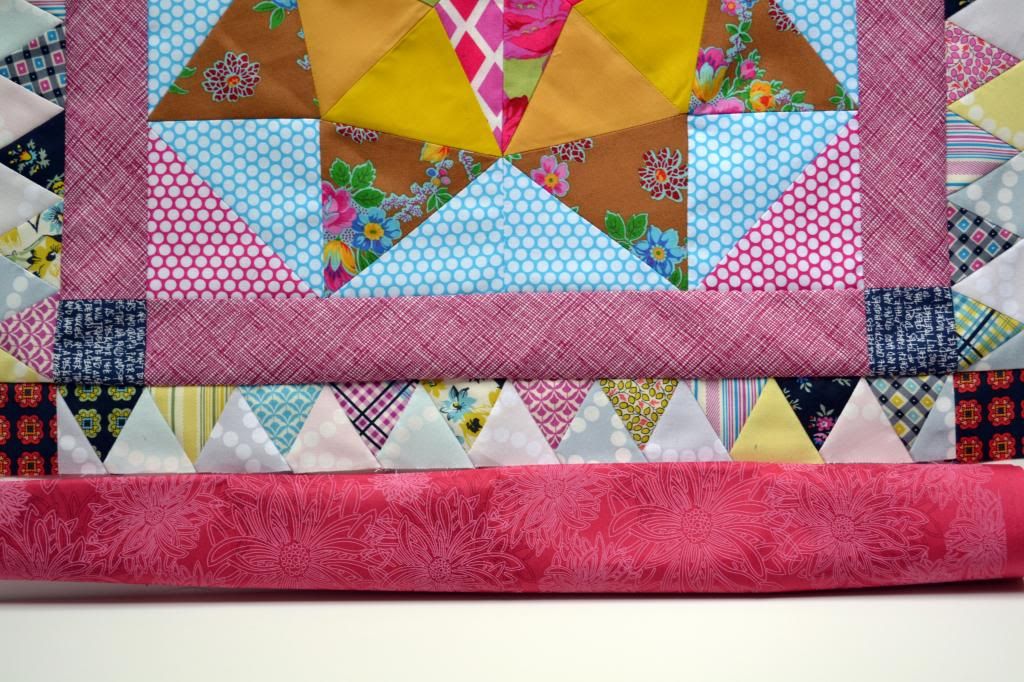
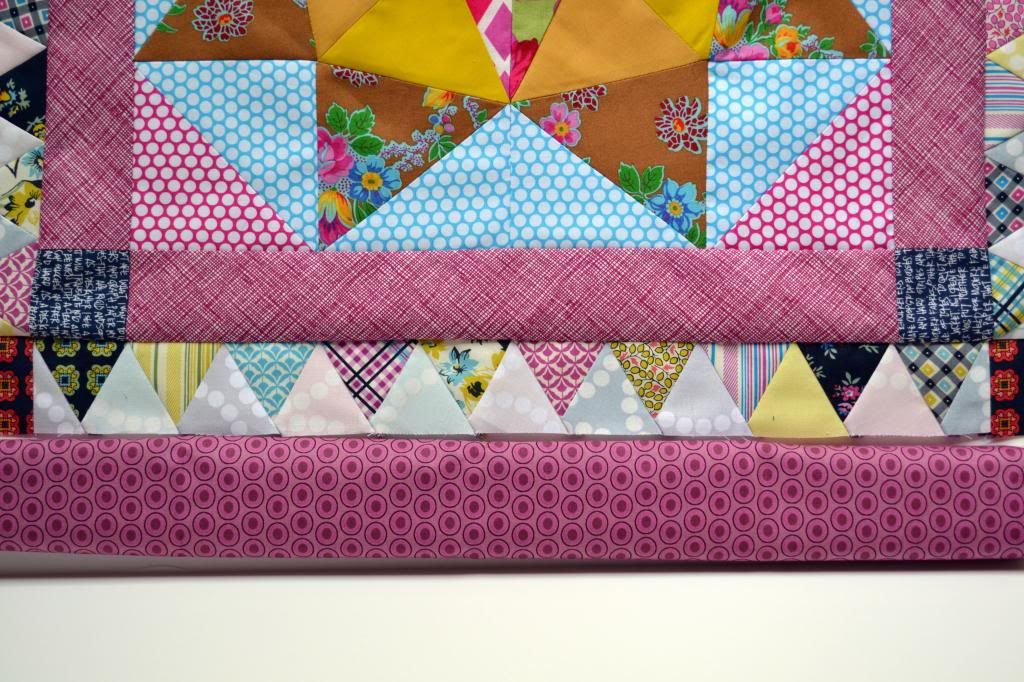
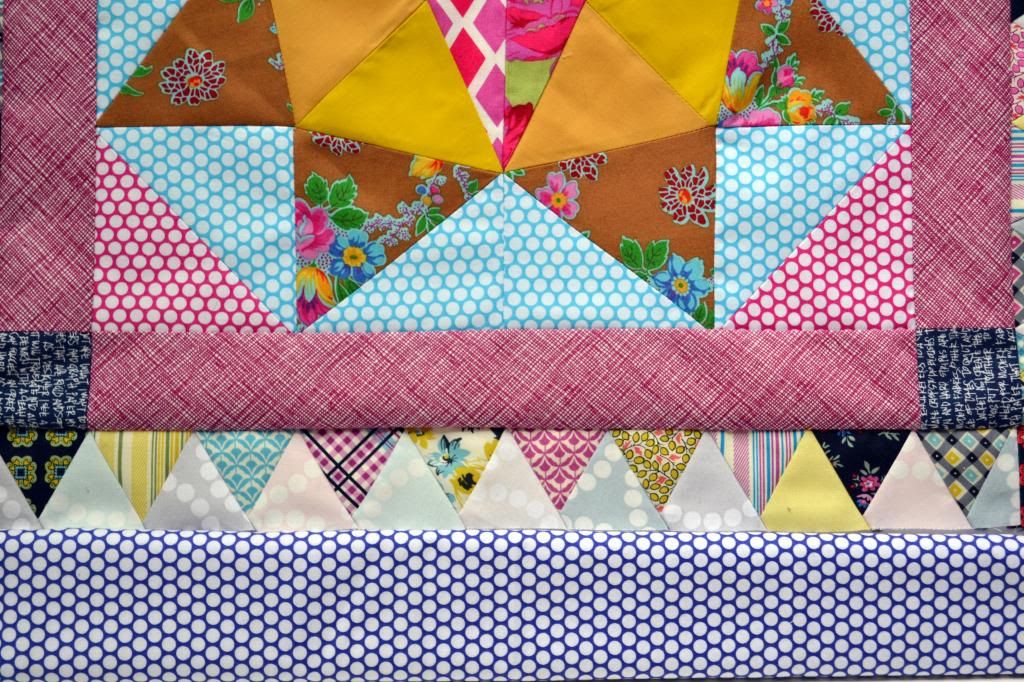
Now on to the next border and this is where i need some help.  I'm auditioning borders.  The further you get along on this quilt the more fabric is required.  Most of my stash is fat quarters and i need at least a 24" length. I had to find some longer pieces.  Here is what i came up with...

1. 


2.

3.
4.
I have two that i'm leaning towards but would love some opinions on this!
  PLEASE comment on which you would pick if it were yours. 

Sunday, March 24, 2013

What I learned... Sewing Y-seams

First of all, thanks to everyone who left nice words of encouragement on my last post about sewing Y-seams.  After the number of times i took out seams, my fabric was pretty much in tatters.  I decided i needed to start over from the beginning so before I started cutting out new pieces i scoured the web for any advice i could find.
So here is what I learned...

1. Starch your fabric beforehand.  Spray your fabric wet with starch and let it air dry.  Once dry give it a simple press with a hot iron.


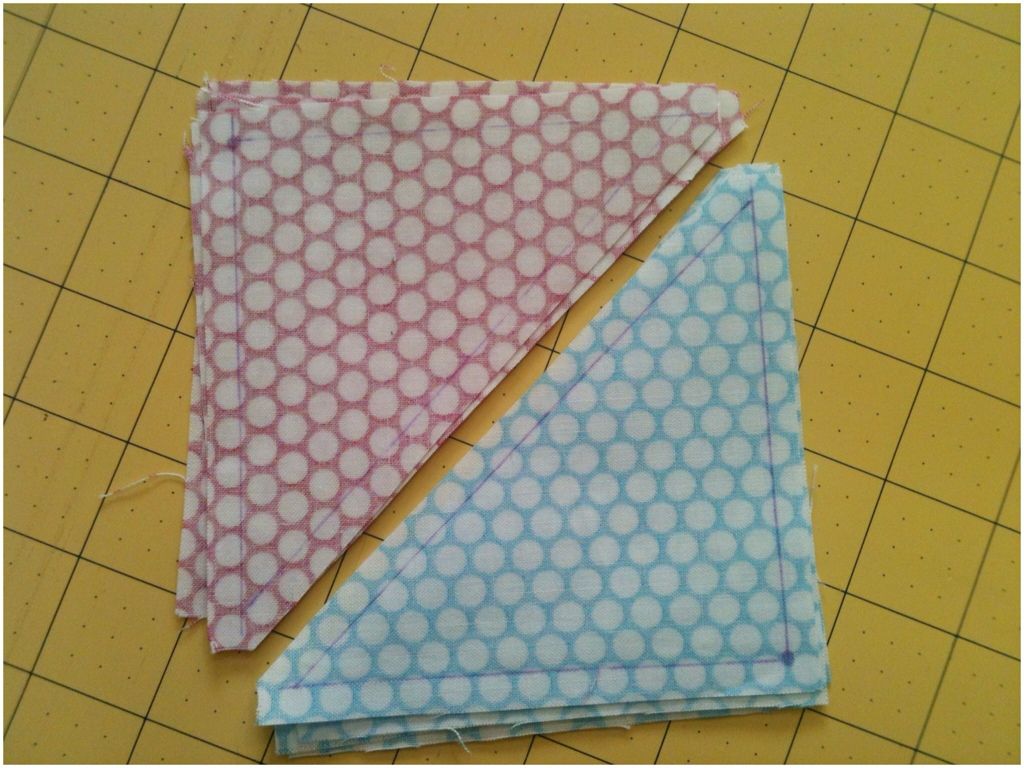
  2. Mark your quarter inch seam allowance with a fabric pen.  Also, mark with a dot the intersection of the Y-seam.  (This is is the instructions for the quilt but it really helps if you actually do it!)

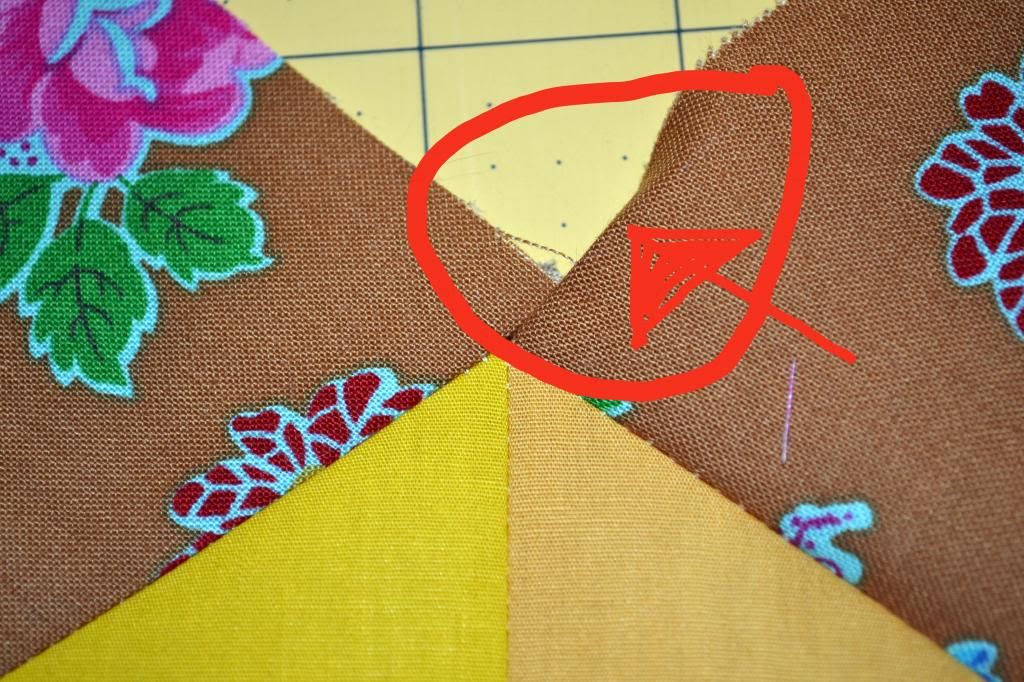
  3.  Finger press (or iron) your seams open after each piece is attached.  This is where i was really messing up last time.  My seams wouldn't lay flat because they were attached where they shouldn't be.  See where the red arrow is pointing?  You need to fold the fabric seam allowance back out of the way before sewing on the next piece!


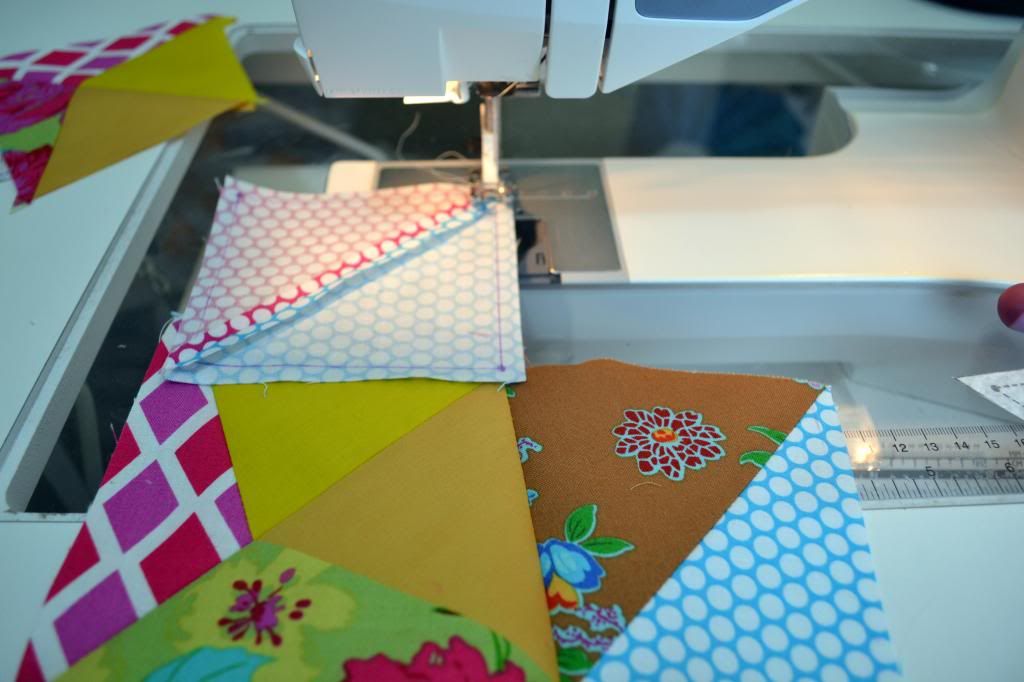
  4. Sew down the side and stop at the dot or rather 1 stitch past the dot.  I didn't backstitch here.  I cut the threads longish and then looked to see if i hit the seam.  If i went one stitch too far i just pulled that stitch out.  It's easier to pull 1 stitch rather than adding 1 stitch.


 5.  Instead of keeping the needle down to attach the next side, i cut the threads, checked my seams and smoothed them open.  Then I repositioned the pieces to sew my last seam.  Everything should lay nice and flat.  If the intersection of the Y-seam seems a little loose I just gave my threads that I left long a little tug and all the seams should snug up together.


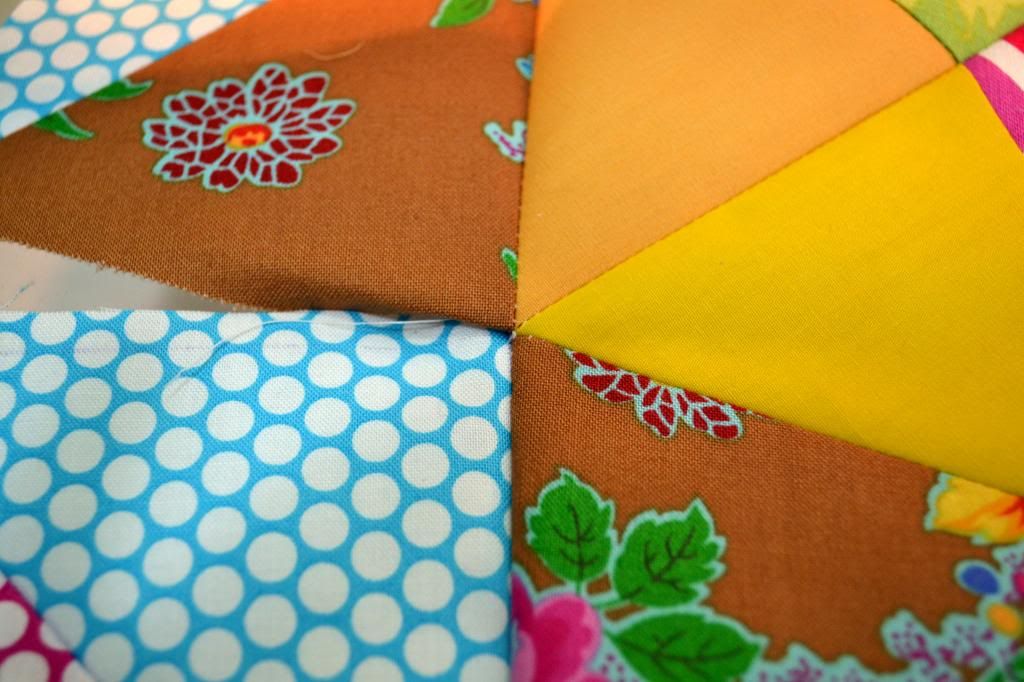
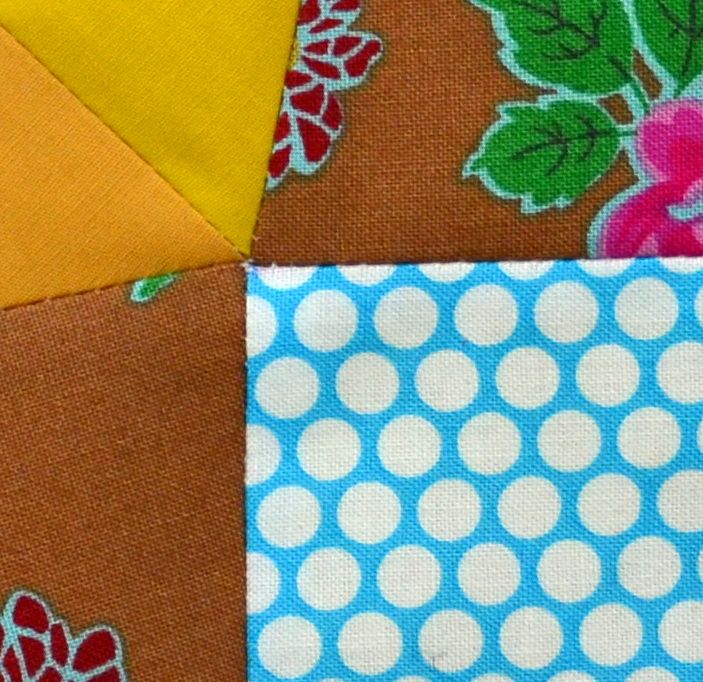
See how great this looks so far!

Pieced by Half Stitched

Just by taking my time and some deep breaths
 i was able to get it all pieced together without any cussing.
I can't tell you how much it helped to have the fabric starched this time around.
In fact, i may start starching all of my fabric before ever cutting it.

WIP Wednesday at Freshly Pieced

Wednesday, March 20, 2013

How Not to Sew a Y-Seam

I finally decided to join the Marcelle Medallion Quilt bandwagon.
I got  Alexia Marcelle Abegg's book Liberty Love at Quiltcon
 and was lucky enough to get tho meet her and have you sign the book as well.
After seeing a ton of variations of this quilt in the blog-o-sphere
 I decided it would be my first project to do from the book.
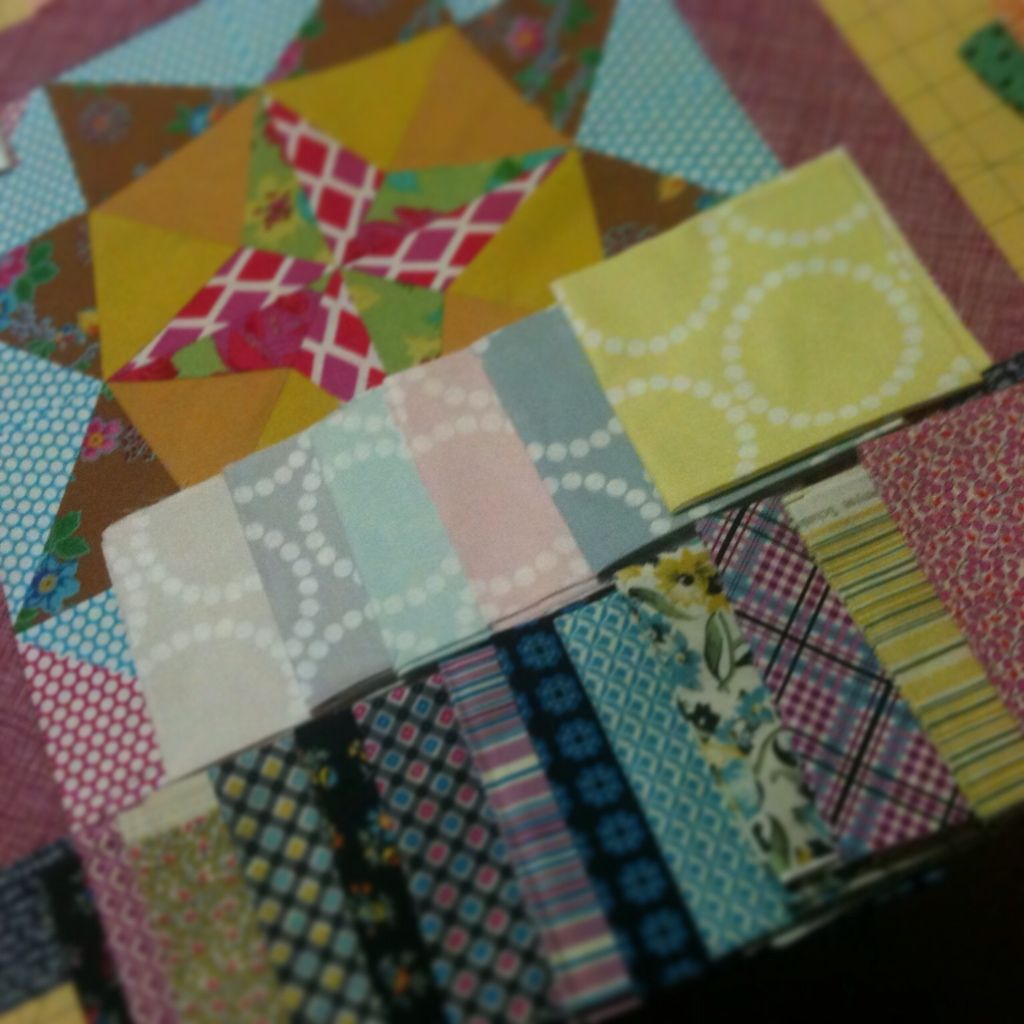
I started by pulling the fabrics i wanted to use just for the center block...
I'll figure out the rest as i go along.

Liberty Love

All was going well...
until i got to the first Y-Seam.
I've never done one before.


Can you tell?
I don't think this is the way it's suppose to look.


and to make matters worse it turns out i pieced some of it wrong too...


Those edges are suppose to be square.  Oops!


After several seam ripping sessions and resewing to still get a bad result 
i have put it aside for now.  
I think i need to practice on some easier block with Y-seams first.

Have you tried this block?  Any tips for a Y-Seam newbie?

If you recently made the move to Bloglovin follow me by clicking the button below
Follow on Bloglovin

If you haven't made the move to Bloglovin from Google Reader,
 which will soon be gone
You should!


 WIP Wednesday at Freshly Pieced

Sunday, October 14, 2012

Sunday Inspiration

Today the sun is out and it's a beautiful autumn morning.  A happy sight since the last couple of days have been overcast and muggy.  To make the morning even more fabulous was getting to cut into my recent fabric arrivals, Chicopee and yarn dyed Essex Linen.  I have been coveting this collection since it first came out but wouldn't take the plunge for the whole collection.  Finally, after seeing a price I couldn't refuse and knowing it soon would be extremely hard to find I bought a fat quarter bundle from The Intrepid Thread.  I selected a few of the prints and matched them with the yarn dyed Essex linen in black.


All of the prints are delicious but I wanted to stick to just one colorway for the quilt that I am envisioning.  However, I may throw in a couple of the brighter prints before it's all said and done.


As I am cutting and piecing, each fabric I touch becomes my new favorite!  I can't believe I waited so long to get my hands on these fabrics.  I've also never  worked with a dark neutral like black in a quilt before and thought the black linen would be a good first try.  It's dark but the variation in the thread colors softens it a bit and of course it's a dream to sew.

I can't wait to finish this quilt, it may just end up being my favorite as of yet! I hope you find what inspires you too on this beautiful Sunday!

Friday, September 21, 2012

Reunion Quilt Top

I have been holding on to some Reunion charm packs by Sweetwater for some time now.  I finally started to put them together last week. I decided to do a similar layout to my Salt Air Quilt, but instead of quarter half -square triangles I am doing just half-square triangles.  The end result will be a little less piecing and a slightly bigger quilt.  I love hanging my quilt tops up in a window to take pictures.  The stained glass effect is so stunning!


Hopefully this will be quilted and binded by the end of next week.  Then I will put it up for sale in my etsy shop.  I hope it sells as fast as my Salt Air Quilt did!  SOLD!

Have a great Friday!!!

Saturday, September 8, 2012

Trying to Finish

This quilt top has been finished for a couple of weeks and just hanging on my design board.  Since school has started back up I've had precious little time to sew.  I decided to take the day off from the ToDo list and just concentrate on finishing this quilt.

Of coarse other things get in the way like grocery shopping, making lunch, and the US Open (exciting matches today).  All I had left to do was piece the back (check), Iron quilt back (check), make quilt sandwich (working on it), and figuring out how to quilt the dang thing (scratching my head).  Hopefully I can at least start quilting it today.  Come tomorrow I turn back into a pumpkin and must get some school work down.  Sometimes I wish I could just make time stop for a few hours so I could squeeze in a little more sewing time.


My Helper


Once this quilt gets quilted and binded it will go up for sale in my Etsy shop.

SOLD!

Saturday, July 21, 2012

Happy Accidents

Thanks to my lovely "cat" alarm I was able to wake up before the sun came over the trees to take pictures of my newly finished quilt in the nice morning light.  I was taking my time setting up each shot  since I had some time before the sun would start to peak over the tree tops.  As I was taking the last shot my batteries died on my camera. UGH!  I quickly ran back inside to get the back up batteries and finished up my shots.  I came back in poured myself a cup of coffee and set down to upload the photos and edit them.  Except... there was nothing! nadda!! zilch!!! on my memory card.


I grabbed the quilt and ran back outside and of course the sun was already too high.  I did manage to find a spot that was decent enough to take pictures but by the end I was in the sun.


But, I'm glad that happened because a couple of shots came out really well that show off the quilting.  I think the pictures came out better the second time around too, even though I was rushing.  I must admit I didn't know how this quilt was going to turn out.  I was just winging it and making decisions as I went.  I couldn't be happier with the way it turned out!


And thankfully we have had some rain recently that has helped lessen the drought and green up the grass.  If you would like to purchase this quilt it is available in my shop here!

Tuesday, July 17, 2012

The Tic Tac Toe Quilt

I recently updated my shop with the Tic Tac Toe Quilt.  Please visit if you are interested in purchasing the quilt.  It was  a blast making it!


if you are interested in making this quilt for yourself,

you can find the quilt pattern here.
09 10 11 12
Blogging tips