Wednesday, October 16, 2013
Fabric Sale!
Saturday, June 22, 2013
Squared Elements by Art Gallery Fabrics
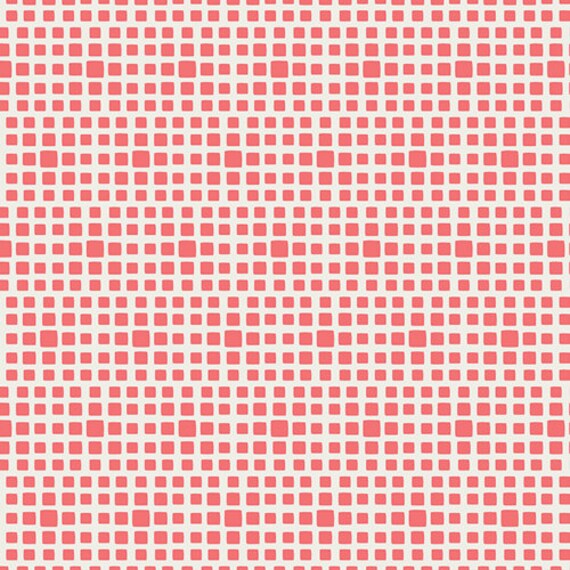 |
| Watermelon |
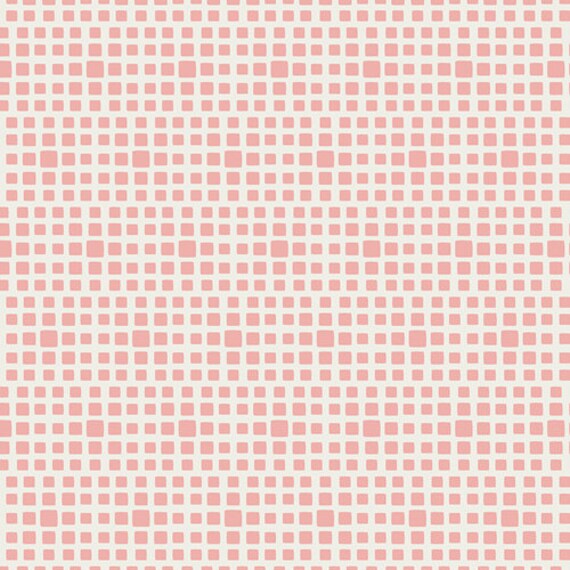 |
| Rosewater |
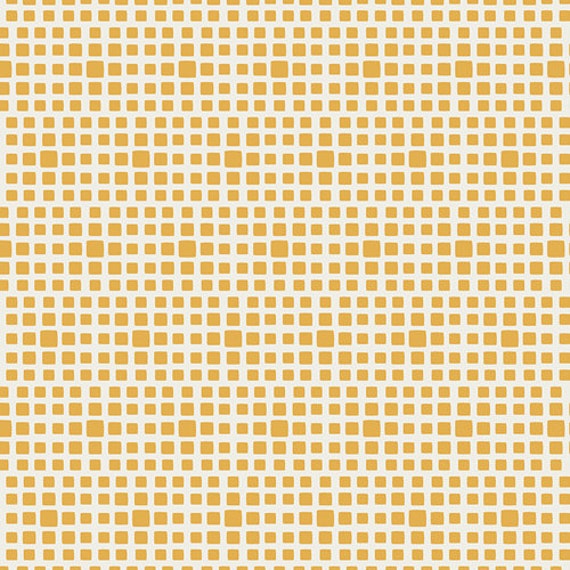 |
| Honeycomb |
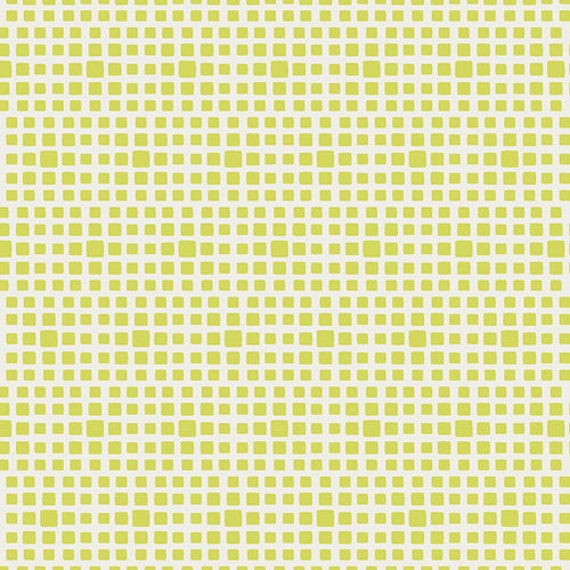 |
| Lemongrass |
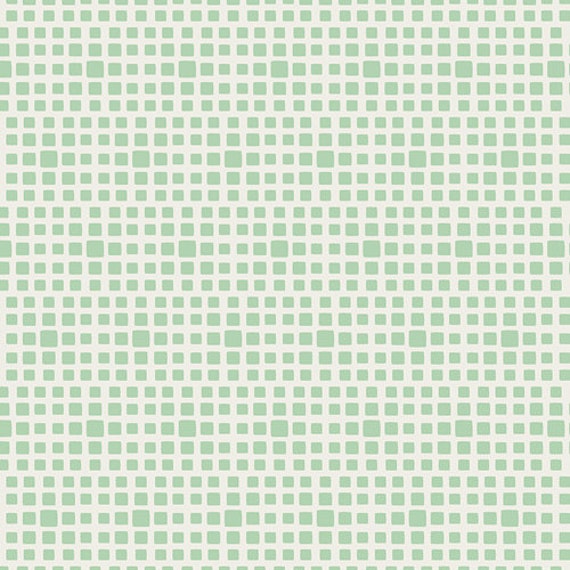 |
| Seafoam |
 |
| Turquoise |
 |
| Shadow |
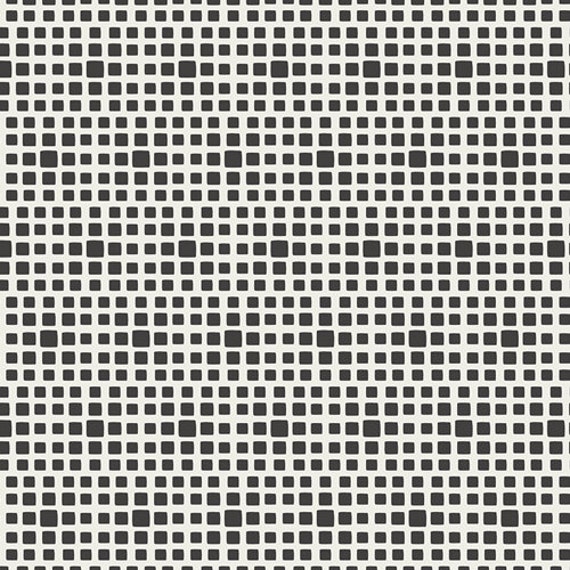 |
| Noir |
Friday, June 21, 2013
Kids Apron Tutorial
The main fabric piece should be at least 18" x 19" (a fat quarter would be perfect)
Accent fabric 5.5" x 42" for making double fold bias tape. If you prefer use pre-made bias tape!
Fabric for embellishments or whatever else you want to use to spiff this apron up.
*Dimensions were used to fit a 3 year old. You may need to adjust the length of your fabric if you are making for an older child.
2. Cut the fabric to 17" x 18.5" and the fold in half long ways, right sides together.
3. On the short side make a mark 3.5 inches in from the folded edge
4. On the long side make a mark 8 inches down from the edge that you made the first mark on.
5. Using a flex ruler if you've got one (or just eyeball it if you have to) draw a curve that connects the two points you marked. Make sure the curve intersects the end of the fabric at a right angle at both marks.
6. I know it's hard to see in this picture but you should have something like this.
10. Measure the sides of the apron from underneath the armholes to bottom of the apron. Cut a length of bias tape to fit that side. Topstitch the bias tape close to the open edge making sure to encase the raw edge of the apron. Repeat for the other side. Do the same for the very top (neck) part of the apron. If desired topstitch along the folded edge of the bias tape for a finished look.
11. Measure the bottom edge of the apron. Add 1" to that length.
My measurements were 17" + 1" = 18"
Open up bias tape to fold the raw edge in 1/2". Press and then refold tape back in half. Press again. Do the same for the other end of the bias tape.
13. To make the apron neck and ties you will need one length of bias tape 61 inches long. Do the same thing to each end as you did in Step 11. Fold in the raw edges and press. Measure from each end 10.5" and mark. This is where you will attach the bias tape to the apron.
15. Start at one end of the tie and topstitch close to the open edge all the way up the apron, around the neck, and down the other side. Making sure to enclose the raw edges of the armholes. Also topstitch the other side of the ties if desired for a finished look.
I hope this all makes sense. But if not, don't hesitate to ask a question. I would also love to see any finished projects. Feel free to post a photo to my facebook page of what you created.
And one last thing... Over at my Esty shop I'm having a sale on everything in the shop. Just use Coupon Code SUMMERFUN2013 for 20% off $35 or more good thru Sunday 6/23/13.
Friday, May 25, 2012
New Project and a Winner!
So this....
turned into this
and then into this...
hopefully it will all be sewn together by the end of the night.
Now on to more important news...
The Sew, Mama, Sew! giveaway has come to a close and I can't wait to find out if I won something.
Fingers crossed!!!
I had over 370 entries for the Fat Quarter set of Miscellany by Cloud 9 Fabrics.
It's neat to read everyone's comments on what their favorite notion is and it seems to be a consensus,
the seam ripper is our most valuable player when it comes to sewing.
So without further ado...
Congratulations Sue!!
who said
"I'm like Alli. Could.not.do. without my rotary cutter. Oh, and my seam ripper...not that I ever need it...snerk."
And for those who did not win you can use Coupon Code
MEMORIAL20
for 20% off your purchase in my etsy fabric shop thru Monday!
I would love to sell thru this fabric so I could buy more!!!!
thank you so much for your comments and I hope that you will visit again soon.
~alician


