My niece's birthday is coming up soon and I needed to figure out what to make her for a present. I have really been trying to hard to go on a fabric diet and only use the fabric I have on hand. I've been very happy/surprised how well the last couple of projects have turned out by using only what I have in my fabric stash. I remembered that a few years ago I bought a stupid amount of this stretch denim. So the challenge was on...What could I make a 3 year old out of denim that wasn't clothes? The next best thing...an apron! I took pictures as I went hoping it would turn out well enough to make a tutorial.
And it did!
So here is the tutorial
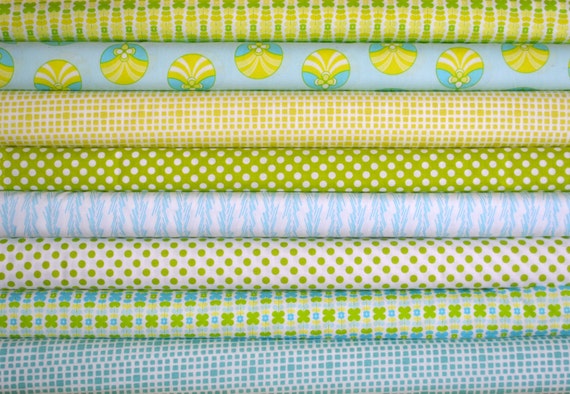
1. Pick out your fabric: I used stretch denim and two prints from Color Me Retro by Jeni Baker
The main fabric piece should be at least 18" x 19" (a fat quarter would be perfect)
Accent fabric 5.5" x 42" for making double fold bias tape. If you prefer use pre-made bias tape!
Fabric for embellishments or whatever else you want to use to spiff this apron up.
*Dimensions were used to fit a 3 year old. You may need to adjust the length of your fabric if you are making for an older child.
2. Cut the fabric to 17" x 18.5" and the fold in half long ways, right sides together.
3. On the short side make a mark 3.5 inches in from the folded edge
4. On the long side make a mark 8 inches down from the edge that you made the first mark on.
5. Using a flex ruler if you've got one (or just eyeball it if you have to) draw a curve that connects the two points you marked. Make sure the curve intersects the end of the fabric at a right angle at both marks.
6. I know it's hard to see in this picture but you should have something like this.
7. Use your rotary cutter to cut out the curve.
8. When you open up the fabric this is what you should have.
9. Use your favorite method for making double fold bias tape. I cut 3 stripes of fabric 13/4" wide by the width of fabric. Sew the ends together to make one long strip and then put it through my bias tape maker tool. Then I folded the fabric in half lengthwise and ironed well. I then cut my strips to length as needed in the following steps.
10. Measure the sides of the apron from underneath the armholes to bottom of the apron. Cut a length of bias tape to fit that side. Topstitch the bias tape close to the open edge making sure to encase the raw edge of the apron. Repeat for the other side. Do the same for the very top (neck) part of the apron. If desired topstitch along the folded edge of the bias tape for a finished look.
11. Measure the bottom edge of the apron. Add 1" to that length.
My measurements were 17" + 1" = 18"
Open up bias tape to fold the raw edge in 1/2". Press and then refold tape back in half. Press again. Do the same for the other end of the bias tape.
12. Now when you attach the bias tape to the bottom of the apron you are also covering the raw edges of bias tape you just sewed onto the side.
13. To make the apron neck and ties you will need one length of bias tape 61 inches long. Do the same thing to each end as you did in Step 11. Fold in the raw edges and press. Measure from each end 10.5" and mark. This is where you will attach the bias tape to the apron.
14. Starting at the point you just marked, begin pinning to the armhole of the apron. Once you make it all the way up to the top of the apron, start again on the other side. You should have a loop left up at the top big enough to get the kid's head through.
*Make sure you don't get the bias tape twisted up at the top.
You should have something that looks like this.
15. Start at one end of the tie and topstitch close to the open edge all the way up the apron, around the neck, and down the other side. Making sure to enclose the raw edges of the armholes. Also topstitch the other side of the ties if desired for a finished look.
16. All sides should be covered with bias tape now and you should have a functioning apron. The nest step is to embellish the apron if you so choose. The possibilities are endless!
I chose to do an applique flower. I didn't use any kind of template. I just simply drew out one petal on a piece of paper and then cut it out to use as a pattern to cut out the fabric. I placed the petals on the apron and use a bit of glue to hold them in place while I edge stitched around each petal. I found a round item to draw around for the middle circle (I found a roll of washi tape that was the perfect size). I cut the circle out and edge stitched around it. That's it!
I hope this all makes sense. But if not, don't hesitate to ask a question. I would also love to see any finished projects. Feel free to post a photo to my
facebook page of what you created.
And one last thing... Over at my
Esty shop I'm having a sale on everything in the shop. Just use Coupon Code SUMMERFUN2013 for 20% off $35 or more good thru Sunday 6/23/13.


