
First of all, thanks to everyone who left nice words of encouragement on my last post about sewing Y-seams. After the number of times i took out seams, my fabric was pretty much in tatters. I decided i needed to start over from the beginning so before I started cutting out new pieces i scoured the web for any advice i could find.
So here is what I learned...
1. Starch your fabric beforehand. Spray your fabric wet with starch and let it air dry. Once dry give it a simple press with a hot iron.
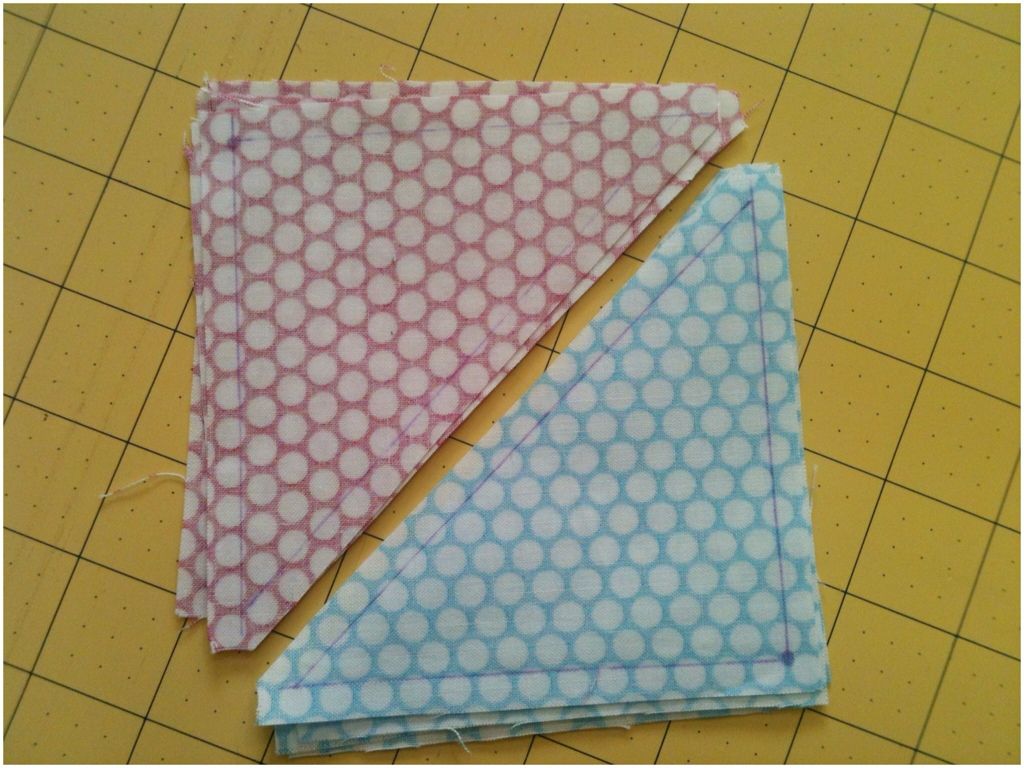
2. Mark your quarter inch seam allowance with a fabric pen. Also, mark with a dot the intersection of the Y-seam. (This is is the instructions for the quilt but it really helps if you actually do it!)

3. Finger press (or iron) your seams open after each piece is attached. This is where i was really messing up last time. My seams wouldn't lay flat because they were attached where they shouldn't be. See where the red arrow is pointing? You need to fold the fabric seam allowance back out of the way before sewing on the next piece!
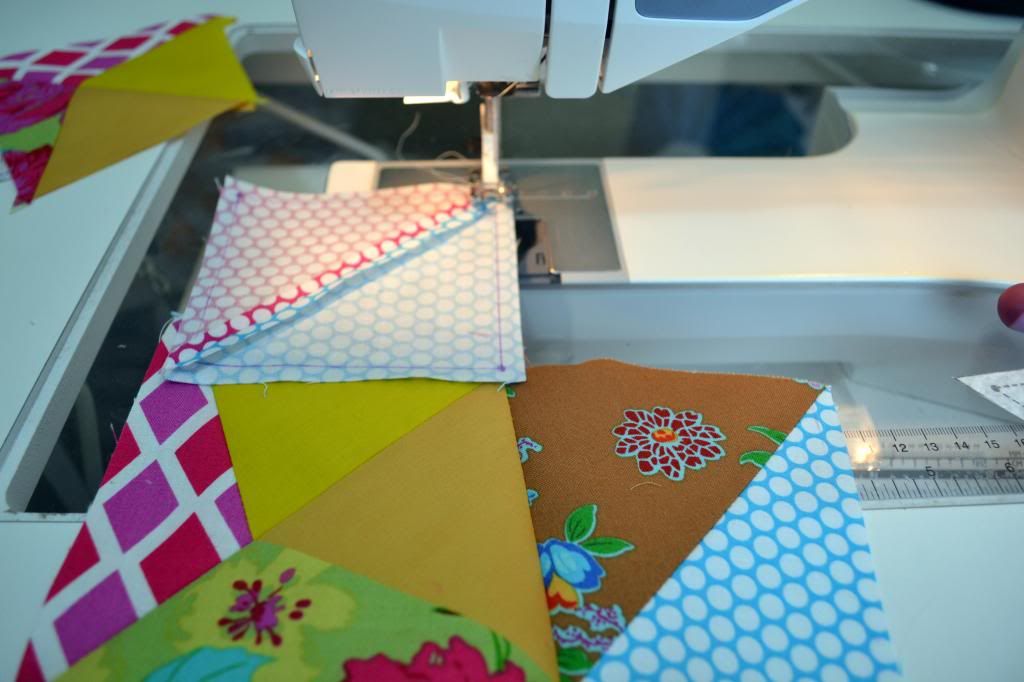
4. Sew down the side and stop at the dot or rather 1 stitch past the dot. I didn't backstitch here. I cut the threads longish and then looked to see if i hit the seam. If i went one stitch too far i just pulled that stitch out. It's easier to pull 1 stitch rather than adding 1 stitch.

5. Instead of keeping the needle down to attach the next side, i cut the threads, checked my seams and smoothed them open. Then I repositioned the pieces to sew my last seam. Everything should lay nice and flat. If the intersection of the Y-seam seems a little loose I just gave my threads that I left long a little tug and all the seams should snug up together.

See how great this looks so far!

Just by taking my time and some deep breaths
i was able to get it all pieced together without any cussing.
I can't tell you how much it helped to have the fabric starched this time around.
In fact, i may start starching all of my fabric before ever cutting it.


