

I was a little unsure about trying to piece and quilt a variety of fabric types including t-shirt jersey and polyester jersey with and without holes. After doing a little research I was able to determine what supplies I would need and how much of each. I found out that the key was to stabilize the backs of each shirt to make it easier to piece and quilt. I chose to use SF 101 which is a cotton weave and would work well with the cotton sashing fabric I was using. It was also great for the jerseys that were a little wholier than others. The woven interfacing made it look like a piece of fabric was underneath the jersey.
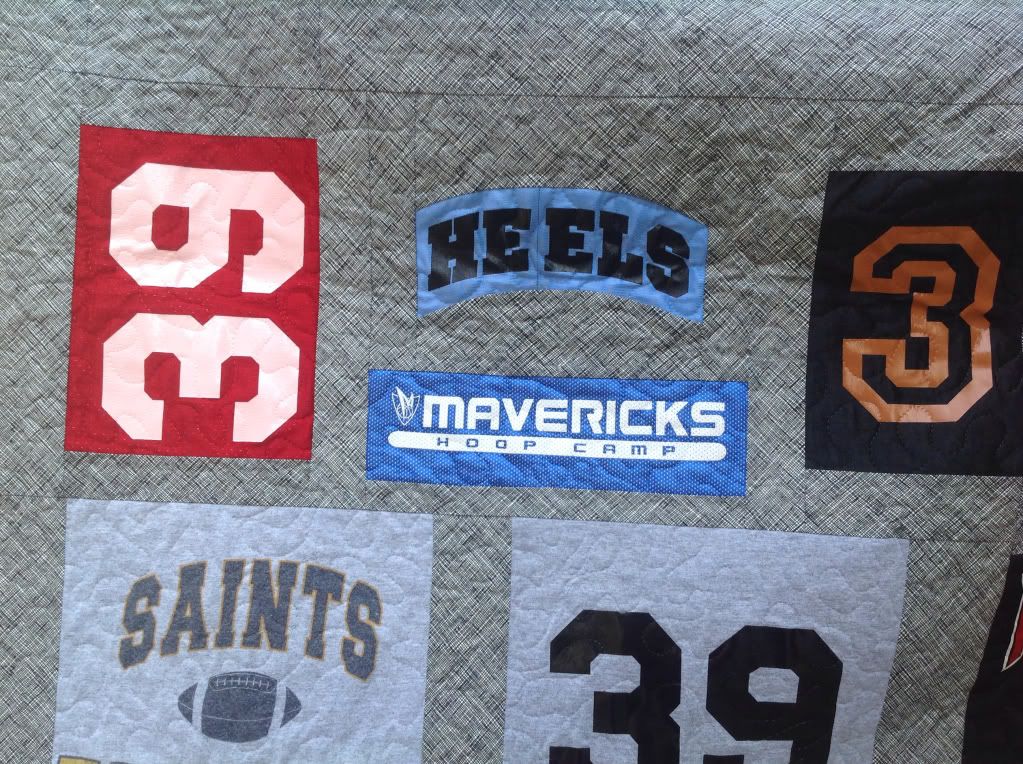
When I was cutting out the jerseys I learned my next lesson... Cut out more of the t-shirt that you want to use, you can always make it smaller later. There were also some cool logos on the shirts that I wanted to highlight but to do this I needed to sew a curved seam. I have never sewn two curved pieces of fabric together before much less tried to cut two pieces of curved fabric that are suppose to fit together! Was a little nervous about this one. Luckily I found this great tutorial about sewing curves.

It was a lot easier than I had expected. I must make a curvy quilt soon!
I also wanted to personalize the quilt a bit by adding in their last name. A few shirts had the name on it that I was able to use and then I paper pieced the last name too to add in a little more of the grey crosshatch to the quilt top.


The next challenge was quilting it. I struggled with what color of thread to use since there were so many bold colors in this quilt. In the end I decided on an invisible thread for the top and a light grey for the bobbin thread. It was a little tricky to stipple and I had to really mess with the thread tension to get it to look right. Another problem I ran into with the invisible thread was that it was so difficult to see where I had already quilted. Much tougher than I thought it would be. But I loved the outcome of the stippling. You can't see the thread the quilt just looks textured.

After it's all said and done I really like the quilt. Some of the spacing could have been better but not too bad for my 1st time out.
If you have ever made a jersey quilt what are your pointers? I would love to hear what you learned.
I hope to get to do a few more...and just FYI I'm always excepting custom work and can be contacted via email: halfstitched@gmail.com
No comments:
Post a Comment
Thank you for your comment. They are so important to me and it's nice to know there is someone out there who is interested in similar things. I will do my best to respond to each one. Have a great day!