Tuesday, September 24, 2013

Making A Custom Jersey Quilt

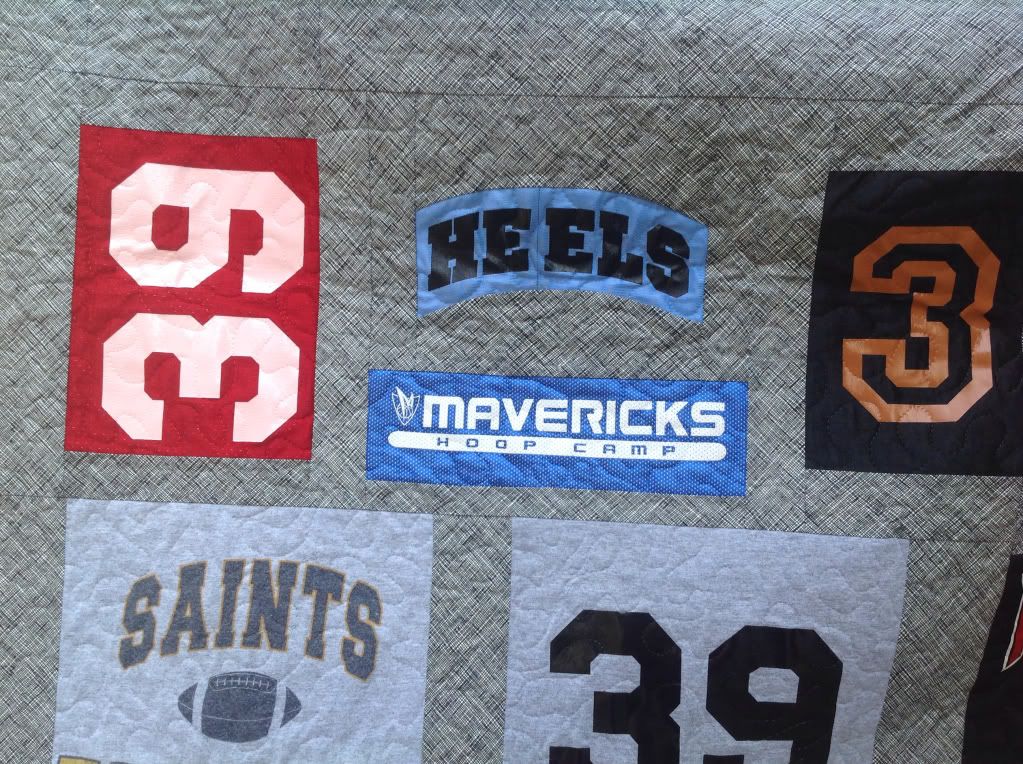
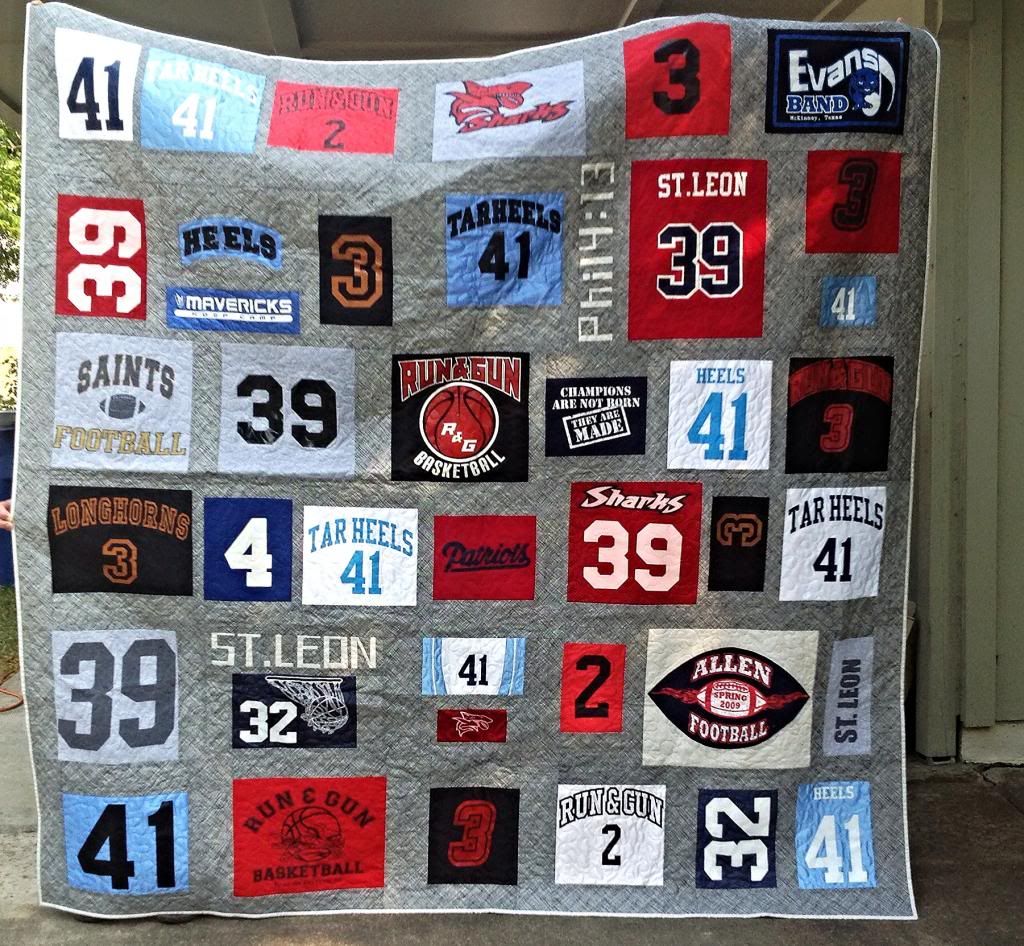
Recently I had the opportunity to make a custom memory quilt using jerseys and t-shirts.  I had yet to make or even see one in person but I had seen a few on Pinterest and through Google searches.  When I was approached about doing this quilt I wasn't exactly sure what I was getting myself into nor did I know what to charge because I really didn't know how long it would take me.

I was a little unsure about trying to piece and quilt a variety of fabric types including t-shirt jersey and polyester jersey with and without holes.  After doing a little research I was able to determine what supplies I would need and how much of each.  I found out that the key was to stabilize the backs of each shirt to make it easier to piece and quilt.  I chose to use SF 101 which is a cotton weave and would work well with the cotton sashing fabric I was using.  It was also great for the jerseys that were a little wholier than others.  The woven interfacing made it look like a piece of fabric was underneath the jersey.

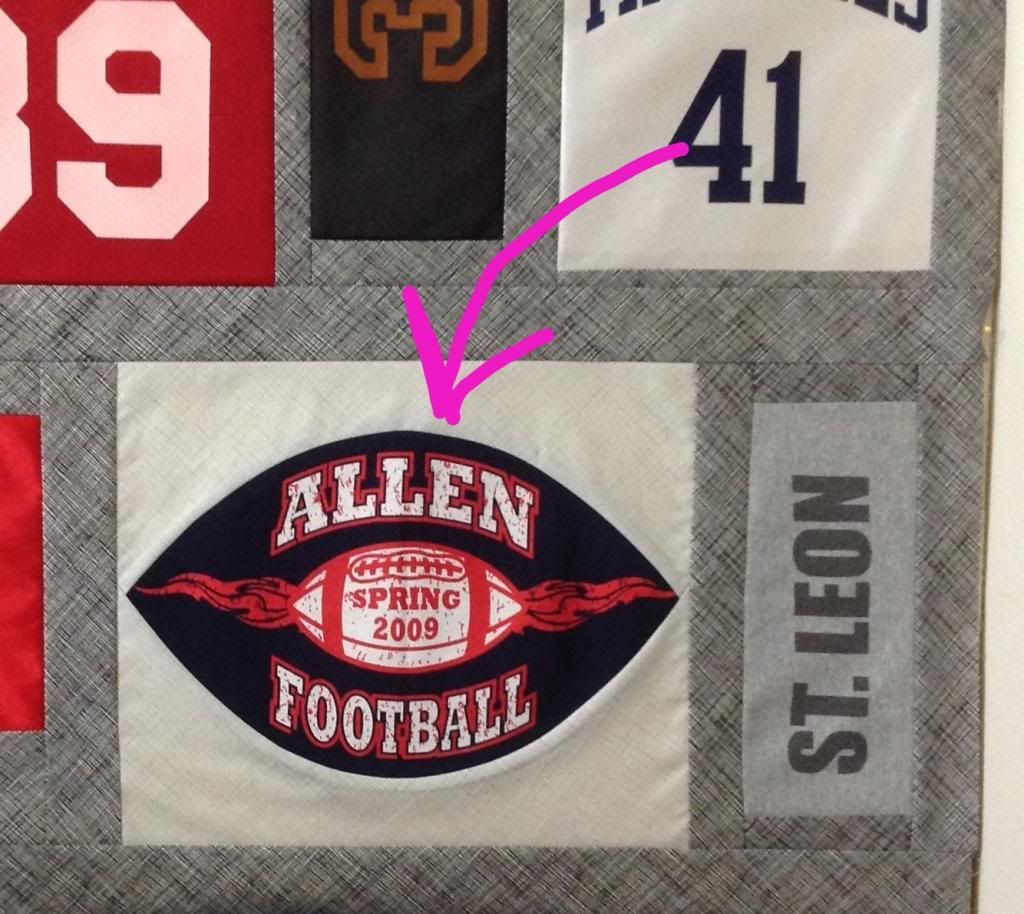
When I was cutting out the jerseys I learned my next lesson... Cut out more of the t-shirt that you want to use, you can always make it smaller later.  There were also some cool logos on the shirts that I wanted to highlight but to do this I needed to sew a curved seam.  I have never sewn two curved pieces of fabric together before much less tried to cut two pieces of curved fabric that are suppose to fit together!  Was a little nervous about this one.  Luckily I found this great tutorial about sewing curves.


It was a lot easier than I had expected.  I must make a curvy quilt soon!
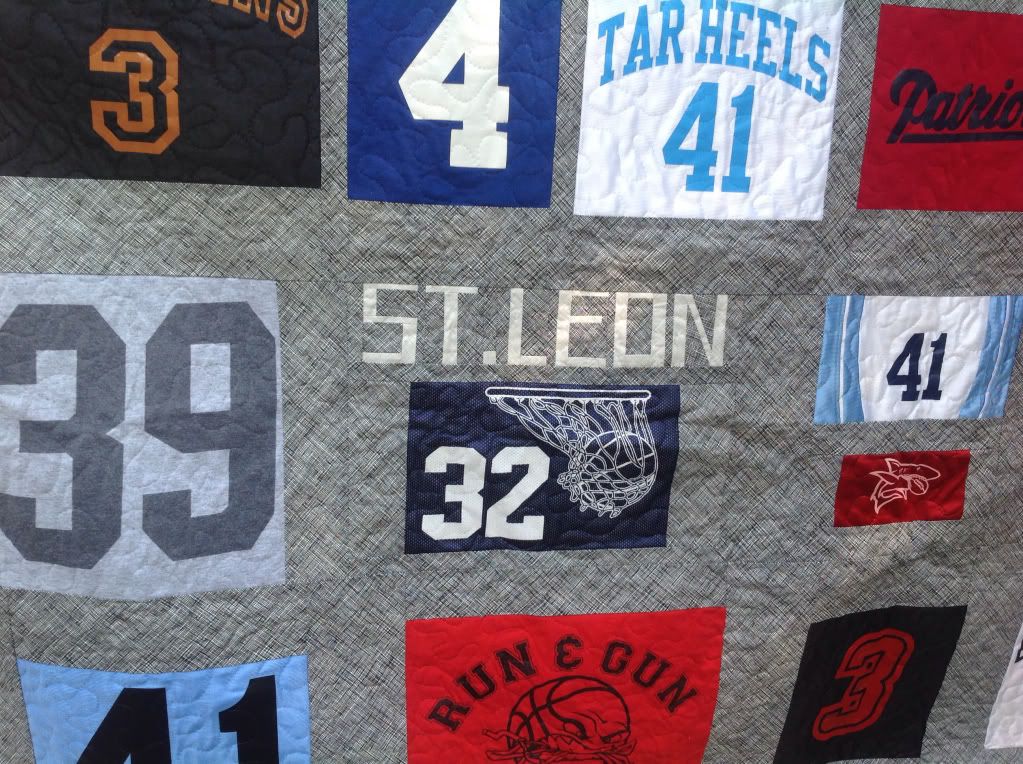
I also wanted to personalize the quilt a bit by adding in their last name.  A few shirts had the name on it that I was able to use and then I paper pieced the last name too to add in a little more of the grey crosshatch to the quilt top.


My overall goal was to make the quilt top using a mosaic layout.  I basically split the quilt top into 4 sections and just worked on one section at a time. When each section was done I pieced the four sections together to get my 80 x 80 quilt top.  I found out my math skills are not as good as they use to be.  I really need one of those handy fabric calculators I've seen at Jo-Ann.


The next challenge was quilting it. I struggled with what color of thread to use since there were so many bold colors in this quilt.  In the end I decided on an invisible thread for the top and a light grey for the bobbin thread.  It was a little tricky to stipple and I had to really mess with the thread tension to get it to look right.  Another problem I ran into with the invisible thread was that it was so difficult to see where I had already quilted.  Much tougher than I thought it would be.  But I loved the outcome of the stippling. You can't see the thread the quilt just looks textured.


After it's all said and done I really like the quilt.  Some of the spacing could have been better but not too bad for my 1st time out. 
If you have ever made a jersey quilt what are your pointers?  I would love to hear what you learned.
I hope to get to do a few more...and just FYI I'm always excepting custom work and can be contacted via email: halfstitched@gmail.com


Wednesday, September 11, 2013

Nobody Likes Shrinkage

Lately I've been making a lot of bags which require precise cutting for numerous pieces.  I'm very careful when cutting fabric and try to make the most of my yardage by snugly placing pattern pieces right next to each other.  While this seems effective I can't tell you how many times I've ended up having to recut pieces after I have ironed on the interfacing.

I love Pellon SF101 and use it on almost everything and when I buy it I buy by the bolt.  But there is a small problem with it... it shrinks and your fabric shrinks with it.  So many times I have told myself to iron on the interfacing before I cut out the pattern piece.  I tell myself lots of things and then usually forget it two seconds later.

Today hopefully this little lesson will stick.  As I was making multiple iPad cases assembly line style, I came across the problem again with certain pieces not matching up like they should.  I had to recut a few pieces and finally decided it was time to iron on the interfacing first.


You can see in this picture how much the fabric had shriveled up.  It was almost a 1/2 inch difference.


I think in the end I will save more fabric by cutting out squares of fabric and affixing the interfacing first. Beats having to stop everything and re-cut the piece.  And if I may say so myself, my iPad cases are "sick" and I can't wait till they are all done and I can show them off.  It's really cool when you have a vision and are able to break down the necessary steps and seams to pull it off.

On another note I've got some cool new fabric bundles in the shop just click here for all my Christmas related items.

Happy Sewing!

Friday, July 19, 2013

Blue Rapsberry and Lime Quilt


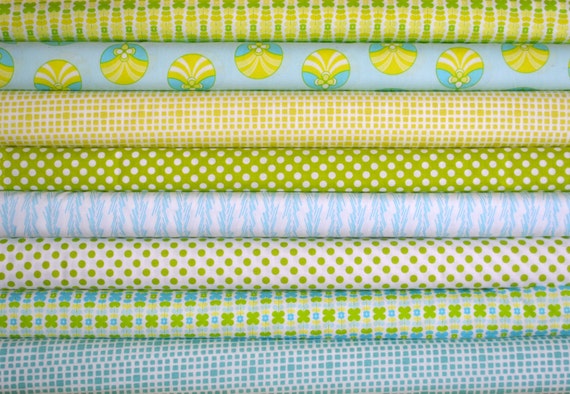
 Recently I put together a few bundles in the shop that I thought would make great stash builder bundles.  I thought this bundle would make a great summer bundle because of its cool colors. 

I really wanted to make a quilt using the fabrics to show how they would look together.  If you are anything like me it's hard to envision how fabric will look together and that is why I love buying fabric bundles that have already been put together for me.


It was fun putting this little gem together.  I used a pattern that I had bought well over a year ago and never used.  The pattern is by FortheLoveDesigns on Etsy.  It is the Nina Quilt and can be found here.  It is a super easy quilt to make.


The pattern calls for 10 Fat Quarters and my bundle only had 8 so I needed to add 2 from my personal stash.  I found two prints that matched perfectly.  There is almost no waste.  Half yards would also work great with how the pieces are cut out.  Again you would have very little waste.


 I also had on hand Riley Blake Designs tone on tone Medium Dot in Aqua fabric that I used for the back.


 The binding is Grey Crosshatch Architextures.  Love that fabric!  And I have more being shipped to me as I type this.  Yeah!!!  I also carry it in Peach and Black.  I truly hope Carolyn Friedlander makes a crosshatch print with every collection she does from now on.


Although I love how this turned out, as with most things, I can think of something I would have done differently.  For this I would have tried to cut the directional prints with the print running from top to bottom instead of side to side.  Minor I know...

I also listed the pretty little quilt (46" x 60") in my Esty Shop.  It would make a great baby gift!  I don't know any babies right now so in the shop it goes.

I think I will do the same quilt in this fabric bundle next...


Saturday, June 22, 2013

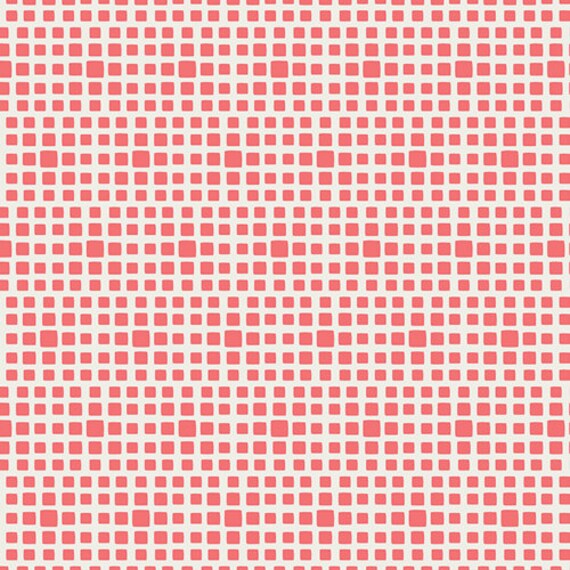
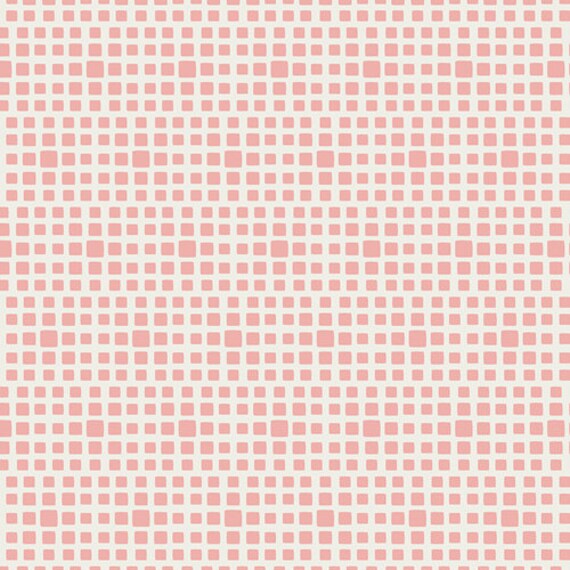
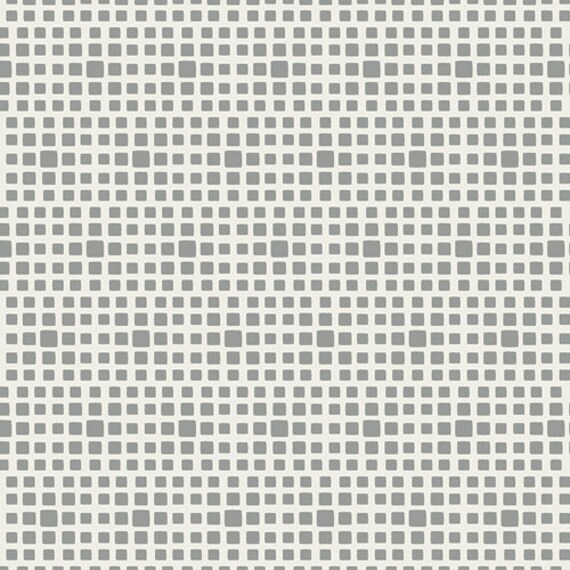
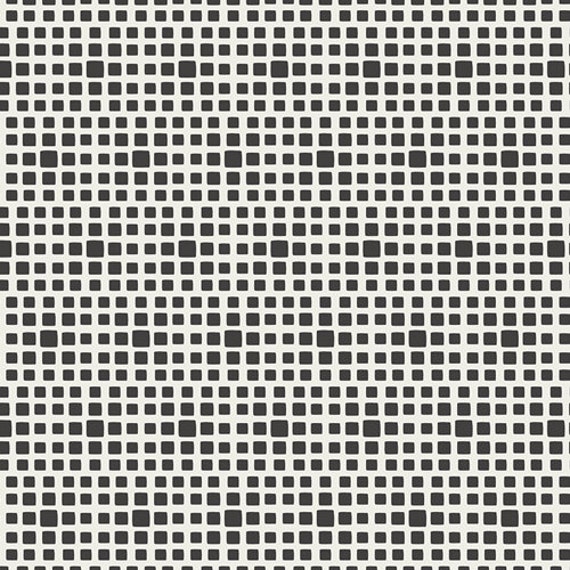
Squared Elements by Art Gallery Fabrics

I'm so excited about this new basic from Art Gallery Fabrics
Squared Elements
The fabric will arrive early next week and I will begin shipping it out on Wednesday.
I currently  have a coupon code running thru Sunday 6/23/13 if you would like to preorder
Coupon Code SUMMERFUN 20% off for orders $35 and up.
Click here to head to the shop


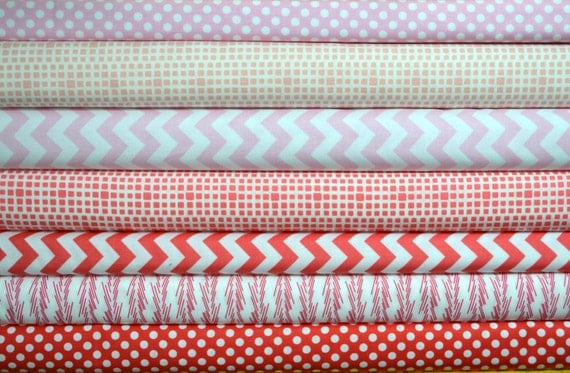
I am getting these eight basic colors to carry in the shop.

Watermelon
Rosewater
Honeycomb
Lemongrass
Seafoam
Turquoise
Shadow
Noir
I think these fabrics will make a great stable fabric that is a must in any fabric stash.
I know I already have plans to use it in a Super Tote
I can see it used for the lining and sides.
I also want to make pinwheel blocks with it.
This fabric is going to be so much fun!!!

Friday, June 21, 2013

Kids Apron Tutorial

My niece's birthday is coming up soon and I needed to figure out what to make her for a present.  I have really been trying to hard to go on a fabric diet and only use the fabric I have on hand.  I've been very happy/surprised how well the last couple of projects have turned out by using only what I have in my fabric stash.  I remembered that a few years ago I bought a stupid amount of this stretch denim.  So the challenge was on...What could I make a 3 year old out of denim that wasn't clothes?  The next best thing...an apron!  I took pictures as I went hoping it would turn out well enough to make a tutorial.
And it did!


So here is the tutorial

1. Pick out your fabric:  I used stretch denim and two prints from Color Me Retro by Jeni Baker
The main fabric piece should be at least 18" x 19" (a fat quarter would be perfect)
Accent fabric 5.5" x 42" for making double fold bias tape.  If you prefer use pre-made bias tape!
Fabric for embellishments or whatever else you want to use to spiff this apron up.
*Dimensions were used to fit a 3 year old.  You may need to adjust the length of your fabric if you are making for an older child.


2.  Cut the fabric to 17" x 18.5" and the fold in half long ways, right sides together.


3.  On the short side make a  mark 3.5 inches in from the folded edge


4. On the long side make a mark 8 inches down from the edge that you made the first mark on.


5.  Using a flex ruler if you've got one (or just eyeball it if you have to) draw a curve that connects the two points you marked.  Make sure the curve intersects the end of the fabric at a right angle at both marks.


6.  I know it's hard to see in this picture but you should have something like this.


7.  Use your rotary cutter to cut out the curve.


8.  When you open up the fabric this is what you should have.
9.  Use your favorite method for making double fold bias tape.  I cut 3 stripes of fabric 13/4" wide by the width of fabric.  Sew the ends together to make one long strip and then put it through my bias tape maker tool.  Then I folded the fabric in half lengthwise and ironed well.  I then cut my strips to length as needed in the following steps.


 10.  Measure the sides of the apron from underneath the armholes to bottom of the apron.  Cut a length of bias tape to fit that side.  Topstitch the bias tape close to the open edge making sure to encase the raw edge of the apron. Repeat for the other side.  Do the same for the very top (neck) part of the apron.  If desired topstitch along the folded edge of the bias tape for a finished look.


11.  Measure the bottom edge of the apron.  Add 1" to that length.
My measurements were 17" + 1" = 18"
Open up bias tape to fold the raw edge in 1/2".  Press and then refold tape back in half.  Press again.  Do the same for the other end of the bias tape.


12.  Now when you attach the bias tape to the bottom of the apron you are also covering the raw edges of bias tape you just sewed onto the side.  


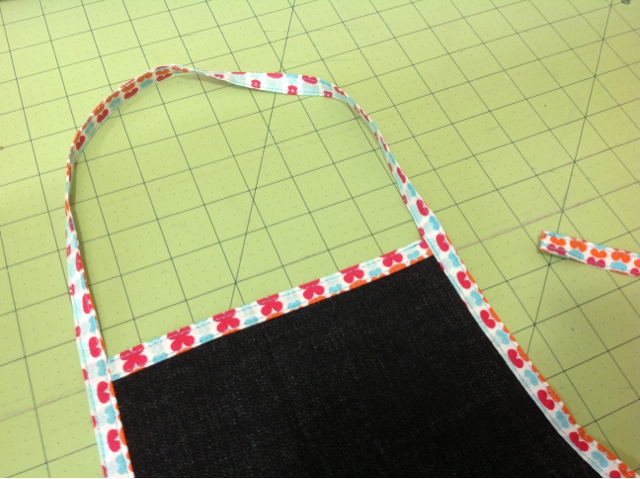
13.  To make the apron neck and ties you will need one length of bias tape 61 inches long.  Do the same thing to each end as you did in Step 11.  Fold in the raw edges and press.  Measure from each end 10.5" and mark.  This is where you will attach the bias tape to the apron.


14.   Starting at the point you just marked, begin pinning to the armhole of the apron.  Once you make it all the way up to the top of the apron, start again on the other side.  You should have a loop left up at the top big enough to get the kid's head through. 
*Make sure you don't get the bias tape twisted up at the top.


You should have something that looks like this.


15.  Start at one end of the tie and topstitch close to the open edge all the way up the apron, around the neck, and down the other side. Making sure to enclose the raw edges of the armholes.  Also topstitch the other side of the ties if desired for a finished look.


16.  All sides should be covered with bias tape  now and you should have a functioning apron.  The nest step is to embellish the apron if you so choose.  The possibilities are endless!


I chose to do an applique flower.  I didn't use any kind of template.  I just simply drew out one petal on a piece of paper and then cut it out to use as a pattern to cut out the fabric.  I placed the petals on the apron and use a bit of glue to hold them in place while I edge stitched around each petal.  I found a round item to draw around for the middle circle (I found a roll of washi tape that was the perfect size).  I cut the circle out and edge stitched around it.  That's it!


I hope this all makes sense.  But if not, don't hesitate to ask a question.  I would also love to see any finished projects.  Feel free to post a photo to my facebook page of what you created.

And one last thing... Over at my Esty shop I'm having a sale on everything in the shop.  Just use Coupon Code SUMMERFUN2013 for 20% off $35 or more good thru Sunday 6/23/13.

Wednesday, May 22, 2013

Medallion Quilt Top Done!

With classes all done I finally was able to get working on the Marcelle Medallion Quilt again.
For those of you who don't know about this awesome quilt it is from Liberty Love
A book by Alexia Marcelle Abegg.
It's a great book with 25 must do sewing projects including quilts, clothing, and bags.
There are even a few projects for the hubby and Fido too!

At first I thought I would do each boarder in a different fabric collection/color.
But, I just fell in love with the way Shelburne Falls, Pearl Bracelet, and Architextures
worked together.
So why quit a good thing?
 I just kept going with it and used up all my stash of that great
 crosshatch from architextures :(

Liberty Love

I thought that the cross block border would be my least favorite out of the whole quilt.  
Turns out it was my favorite!
Of coarse as soon as I laid it out Sophie had to come test it out.


As I was attaching the last boarder it dawned on me that now I have to figure out how to quilt it.
oh no!  What to do?

 by Half Stitched

Overall I really loved piecing this quilt.  I was shocked how forgiving the piecing was.  There is more than one seam that didn't quit match up and even a pearl bracelet piece or two that is even sewn in wrong side up. shhhh...don't tell anybody.

While I'm trying to figure out how I want to quilt this thing I'm preparing for the local monthly craft show in town.  I'm trying to figure out what I would like to make for it.  I have a few quilts that I will sell but I need more than just a few quilts.
I made a few bags like these...


Have you ever sold at an art market? 
What types of items sold the best for you? Or what have you bought that was a must have ?
I would really appreciate any input!!!
09 10 11 12
Blogging tips