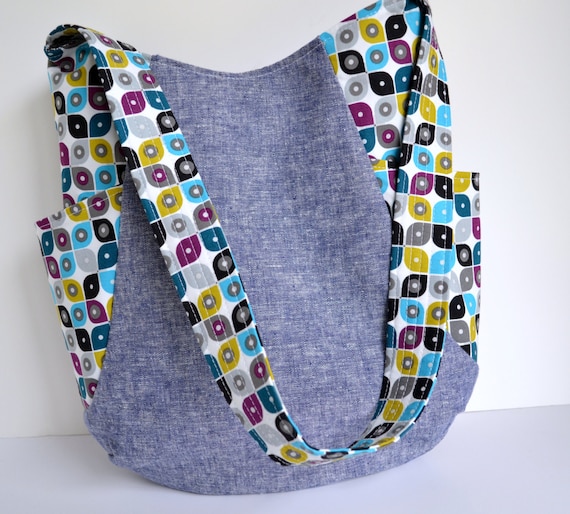
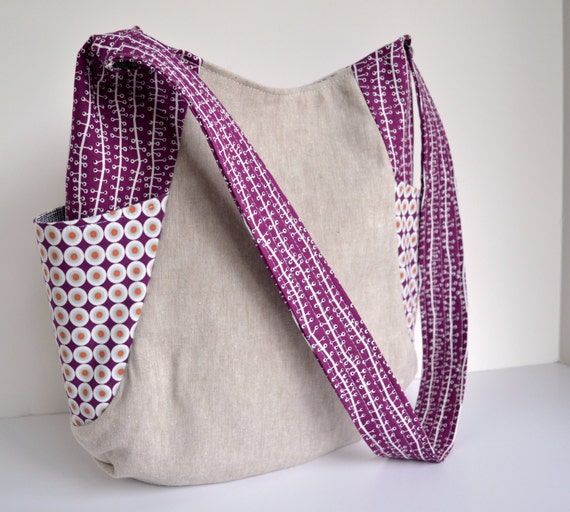
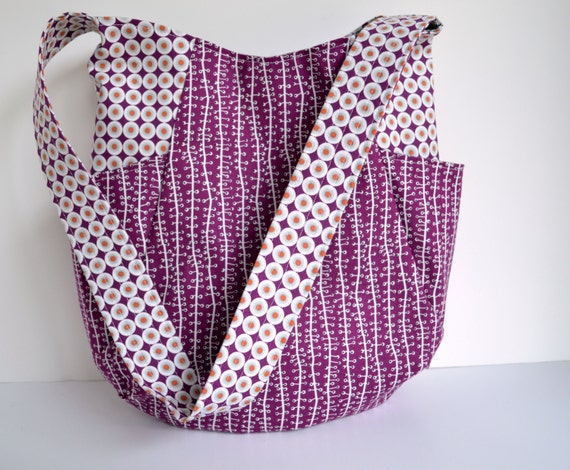
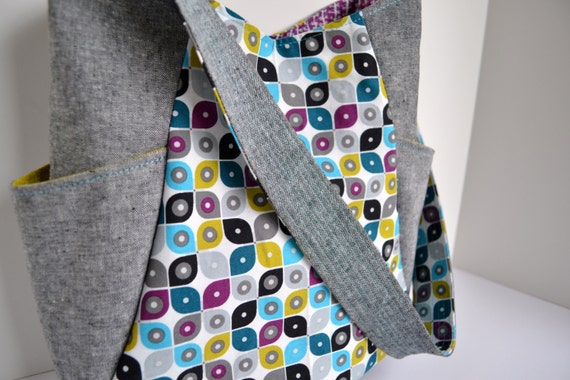
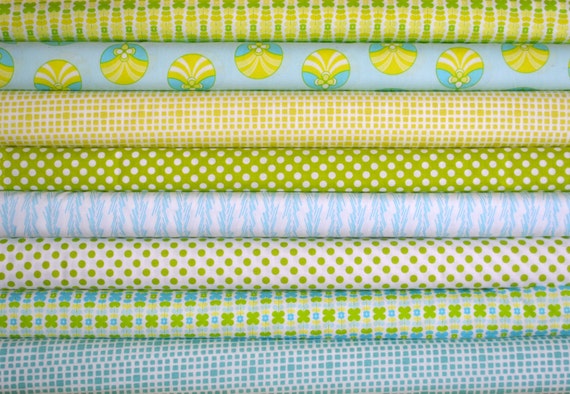
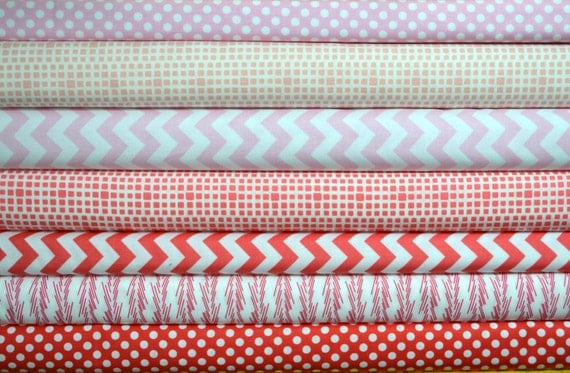
My latest acquisition in fabric was a couple of prints from the MicroMod collection for Cloud9 fabrics. I was only able to get a few of the prints and only a limited amount but I knew I wanted to make totes with them. It was fun mixing and matching the fabrics.
I just love the 241Tote pattern by Noodle Head! I bought several of her patterns and they are really well written and you don't have to be an expert to sew them. Making each bag look different is easy.
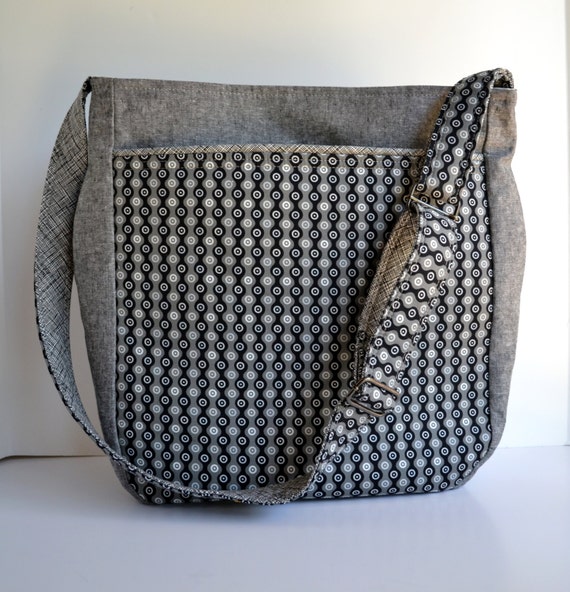
I also just finished a Super Tote. This fabric was called Zombie and I thought it was pretty appropriately named.
With this bag I made several adjustments to the pattern. For starters I added an adjustable strap to the bag instead of the two handles the pattern originally called for. This is the first time I've ever attempted an adjustable strap. Something that has been on my to learn list for a long time. I was surprised out how easy it was to do. I learned a few things too and plan on making up a tutorial for adjustable straps and how to add them to almost any bag pattern.
The second adjustment I made was the inner pocket. The pattern called for a gathered pocket that can be divided up to make smaller pockets. I wanted something a little more structured with a cleaner look.
So I made a lined pocket with homemade piping using some scraps of black crosshatch Architextures fabric. LOVE! Oh! and the Geekly Chic Glasses!!! Perfect for a book bag ;)
I would love to hear about your favorite bag pattern hacks. What changes do you make to bag patterns?
Thursday, October 24, 2013
Saturday, October 19, 2013
Quilted Leaf Potholder ~ A Tutorial
Materials:
- fabric scraps in Fall colors at least 5.5 inches in length
- fabric for backing at least 6" x 9"
- fabric for loop 1.5" x 4"
- bias binding 2" x 24" long
- cotton batting at least 6" x 9"
- Insul-Bright at least 6" x 9"
- thread
- leaf template Click here to download template
Directions:
1. Download and print leaf template. Make sure template is set to print at actual size. Cut out leaf and cut in half along dotted line. Set aside
2. Cut strips of fabric 5.5 inches long and in various widths ranging from 1" to 2.5" wide. There wider the strips the less you need. Layout your strips and arrange them to your liking.
3. Sew the strips together using a scant 1/4" seam allowance (the seams will get crowded if it's too wide). Sew on strips until you get a piece at least 8.5" long. Iron seams to one side.
4. Take the right side of the leaf template and lay it on your pieced strips at an angle tilted to the right. Cut out the shape. Save the left overs to make another potholder. I don't now exactly what angle I cut this on but it was less than a 45° angle... maybe around a 30° angle.
5. Repeat steps 2 thru 3 for the left side of the leaf. This time when you lay your template on the fabric it should be angled to the left. This will allow for the seams to meet at a downward angle when sewn together.
6. Sew your left and right sides of the leaf together and press the seam open.
7. Sandwich your batting and Insul-Bright between the backing fabric and your leaf.
8. Quilt your leaf as desired. Trim the excess fabric from your leaf.
9. Sew bias binding to the leaf starting from the bottom of the leaf. When you get to the top point of the leaf backstitch and cut threads. Fold bias binding up at an angle (similar to what you would do when sewing binding at the corner of a quilt).
*** To make my own bias binding I cut a fat quarter in half on a 45° then cut a strip 2" wide the full length of the bias cut then pressed the strip in half long sides together.
Fold bias binding back over to go down the other side.
Then continue sewing the binding to the rest of the leaf. Stop just before you get to the very bottom to insert your loop.
To make loop: use the 1.5" x 4" piece of fabric. Fold in half lengthwise and press. Open and fold long edges to meet in the middle, press, fold in half again, press. Stitch folded edges togther.
10. Using a ladder stitch hand sew the binding to the back of the leaf. At the bottom of the leaf I just tucked and folded the raw edge of the fabric in until all raw edges were covered and stitched them down (there may be a better method but doing it this way worked just fine). I also put a few stitches through the loop to make it stick out away from the leaf.
You should be able to get two potholders out of your pieced fabric. You can vary the size by enlarging or shrinking the template. Varying the width of the strips would also give a different effect.
I hope you enjoy this tutorial!
I would love to see what you come up!!
Wednesday, October 16, 2013
Fabric Sale!
This is just a quick post to say that I'm running a coupon over in my Etsy Shop.
I was having a little fun with some new fonts I just downloaded :)
I've got a lot of good basic fabrics in the shop right now and need to make room for all the lovely new collections about to come out.
I've been working on a few projects that I'm excited to share with you soon!
Wednesday, October 2, 2013
Rainbow Plus Quilt
This past weekend I wanted to do a project that was simple and quick. Also with fabric I already had on hand. I had enough batting for a small baby quilt so baby quilt it was. I have really been wanting to make a quilt with Riley Blake's Tone on Tone Dots for awhile and thought this would be the perfect project.
My supply for the Pink was running low so I just left it out which worked out well for the pattern I used. Speaking of the pattern I used the Inside Out Quilt pattern by Cluck Cluck Sew. It really is two patterns in one with the plus quilt being the other pattern.
The cutting instructions are for charm packs or a layer cake but I just cut 5" stripes and then cut the required size of fabric from there. Pretty simple! The piecing went by really fast. I love chain piecing!!
I chose a Medium Rainbow Chevron for the back. I kinda wished I had the large chevron but Medium will do. I struggled a little on how to quit it. I tried a few different things at first but ended up pulling it out and opting for straight straigtish stitching. Straight line quilting is like the little black dress...you can never go wrong with it on a quilt.
The rainbow dot fabric was perfect for the binding. I love how bright and fun this quilt is. It stitched up quick and with out any headaches. A huge Plus in my book! I also put the quilt in my shop and can be purchased here Rainbow Plus Quilt
Happy Quilting
~Alician
My supply for the Pink was running low so I just left it out which worked out well for the pattern I used. Speaking of the pattern I used the Inside Out Quilt pattern by Cluck Cluck Sew. It really is two patterns in one with the plus quilt being the other pattern.
The cutting instructions are for charm packs or a layer cake but I just cut 5" stripes and then cut the required size of fabric from there. Pretty simple! The piecing went by really fast. I love chain piecing!!
I think next I will do the Inside Out Pattern with these
Happy Quilting
~Alician
Tuesday, September 24, 2013
Making A Custom Jersey Quilt
Recently I had the opportunity to make a custom memory quilt using jerseys and t-shirts. I had yet to make or even see one in person but I had seen a few on Pinterest and through Google searches. When I was approached about doing this quilt I wasn't exactly sure what I was getting myself into nor did I know what to charge because I really didn't know how long it would take me.
I was a little unsure about trying to piece and quilt a variety of fabric types including t-shirt jersey and polyester jersey with and without holes. After doing a little research I was able to determine what supplies I would need and how much of each. I found out that the key was to stabilize the backs of each shirt to make it easier to piece and quilt. I chose to use SF 101 which is a cotton weave and would work well with the cotton sashing fabric I was using. It was also great for the jerseys that were a little wholier than others. The woven interfacing made it look like a piece of fabric was underneath the jersey.
When I was cutting out the jerseys I learned my next lesson... Cut out more of the t-shirt that you want to use, you can always make it smaller later. There were also some cool logos on the shirts that I wanted to highlight but to do this I needed to sew a curved seam. I have never sewn two curved pieces of fabric together before much less tried to cut two pieces of curved fabric that are suppose to fit together! Was a little nervous about this one. Luckily I found this great tutorial about sewing curves.
It was a lot easier than I had expected. I must make a curvy quilt soon!
I also wanted to personalize the quilt a bit by adding in their last name. A few shirts had the name on it that I was able to use and then I paper pieced the last name too to add in a little more of the grey crosshatch to the quilt top.
My overall goal was to make the quilt top using a mosaic layout. I basically split the quilt top into 4 sections and just worked on one section at a time. When each section was done I pieced the four sections together to get my 80 x 80 quilt top. I found out my math skills are not as good as they use to be. I really need one of those handy fabric calculators I've seen at Jo-Ann.
The next challenge was quilting it. I struggled with what color of thread to use since there were so many bold colors in this quilt. In the end I decided on an invisible thread for the top and a light grey for the bobbin thread. It was a little tricky to stipple and I had to really mess with the thread tension to get it to look right. Another problem I ran into with the invisible thread was that it was so difficult to see where I had already quilted. Much tougher than I thought it would be. But I loved the outcome of the stippling. You can't see the thread the quilt just looks textured.
After it's all said and done I really like the quilt. Some of the spacing could have been better but not too bad for my 1st time out.
If you have ever made a jersey quilt what are your pointers? I would love to hear what you learned.
I hope to get to do a few more...and just FYI I'm always excepting custom work and can be contacted via email: halfstitched@gmail.com
I was a little unsure about trying to piece and quilt a variety of fabric types including t-shirt jersey and polyester jersey with and without holes. After doing a little research I was able to determine what supplies I would need and how much of each. I found out that the key was to stabilize the backs of each shirt to make it easier to piece and quilt. I chose to use SF 101 which is a cotton weave and would work well with the cotton sashing fabric I was using. It was also great for the jerseys that were a little wholier than others. The woven interfacing made it look like a piece of fabric was underneath the jersey.
When I was cutting out the jerseys I learned my next lesson... Cut out more of the t-shirt that you want to use, you can always make it smaller later. There were also some cool logos on the shirts that I wanted to highlight but to do this I needed to sew a curved seam. I have never sewn two curved pieces of fabric together before much less tried to cut two pieces of curved fabric that are suppose to fit together! Was a little nervous about this one. Luckily I found this great tutorial about sewing curves.
It was a lot easier than I had expected. I must make a curvy quilt soon!
I also wanted to personalize the quilt a bit by adding in their last name. A few shirts had the name on it that I was able to use and then I paper pieced the last name too to add in a little more of the grey crosshatch to the quilt top.
The next challenge was quilting it. I struggled with what color of thread to use since there were so many bold colors in this quilt. In the end I decided on an invisible thread for the top and a light grey for the bobbin thread. It was a little tricky to stipple and I had to really mess with the thread tension to get it to look right. Another problem I ran into with the invisible thread was that it was so difficult to see where I had already quilted. Much tougher than I thought it would be. But I loved the outcome of the stippling. You can't see the thread the quilt just looks textured.
After it's all said and done I really like the quilt. Some of the spacing could have been better but not too bad for my 1st time out.
If you have ever made a jersey quilt what are your pointers? I would love to hear what you learned.
I hope to get to do a few more...and just FYI I'm always excepting custom work and can be contacted via email: halfstitched@gmail.com
Wednesday, September 11, 2013
Nobody Likes Shrinkage
Lately I've been making a lot of bags which require precise cutting for numerous pieces. I'm very careful when cutting fabric and try to make the most of my yardage by snugly placing pattern pieces right next to each other. While this seems effective I can't tell you how many times I've ended up having to recut pieces after I have ironed on the interfacing.
I love Pellon SF101 and use it on almost everything and when I buy it I buy by the bolt. But there is a small problem with it... it shrinks and your fabric shrinks with it. So many times I have told myself to iron on the interfacing before I cut out the pattern piece. I tell myself lots of things and then usually forget it two seconds later.
Today hopefully this little lesson will stick. As I was making multiple iPad cases assembly line style, I came across the problem again with certain pieces not matching up like they should. I had to recut a few pieces and finally decided it was time to iron on the interfacing first.
You can see in this picture how much the fabric had shriveled up. It was almost a 1/2 inch difference.
I think in the end I will save more fabric by cutting out squares of fabric and affixing the interfacing first. Beats having to stop everything and re-cut the piece. And if I may say so myself, my iPad cases are "sick" and I can't wait till they are all done and I can show them off. It's really cool when you have a vision and are able to break down the necessary steps and seams to pull it off.
On another note I've got some cool new fabric bundles in the shop just click here for all my Christmas related items.
Happy Sewing!
Friday, July 19, 2013
Blue Rapsberry and Lime Quilt
Recently I put together a few bundles in the shop that I thought would make great stash builder bundles. I thought this bundle would make a great summer bundle because of its cool colors.
I really wanted to make a quilt using the fabrics to show how they would look together. If you are anything like me it's hard to envision how fabric will look together and that is why I love buying fabric bundles that have already been put together for me.
It was fun putting this little gem together. I used a pattern that I had bought well over a year ago and never used. The pattern is by FortheLoveDesigns on Etsy. It is the Nina Quilt and can be found here. It is a super easy quilt to make.
The pattern calls for 10 Fat Quarters and my bundle only had 8 so I needed to add 2 from my personal stash. I found two prints that matched perfectly. There is almost no waste. Half yards would also work great with how the pieces are cut out. Again you would have very little waste.
I also had on hand Riley Blake Designs tone on tone Medium Dot in Aqua fabric that I used for the back.
The binding is Grey Crosshatch Architextures. Love that fabric! And I have more being shipped to me as I type this. Yeah!!! I also carry it in Peach and Black. I truly hope Carolyn Friedlander makes a crosshatch print with every collection she does from now on.
Although I love how this turned out, as with most things, I can think of something I would have done differently. For this I would have tried to cut the directional prints with the print running from top to bottom instead of side to side. Minor I know...
I also listed the pretty little quilt (46" x 60") in my Esty Shop. It would make a great baby gift! I don't know any babies right now so in the shop it goes.
I think I will do the same quilt in this fabric bundle next...
Saturday, June 22, 2013
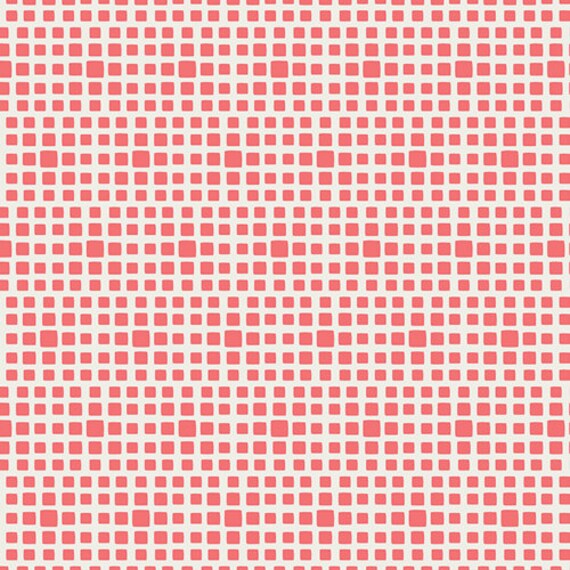
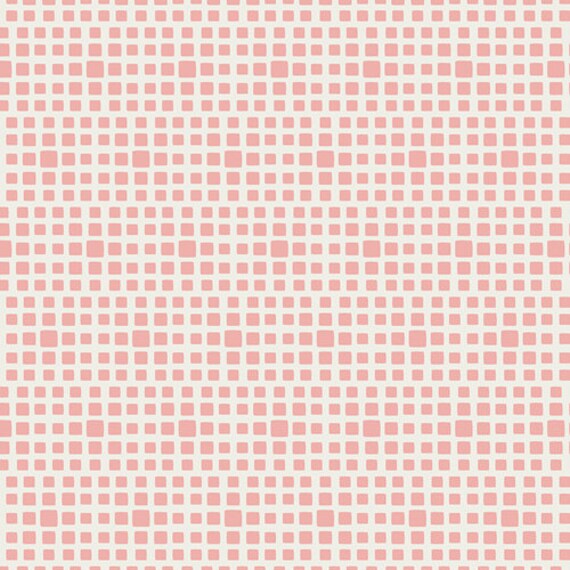
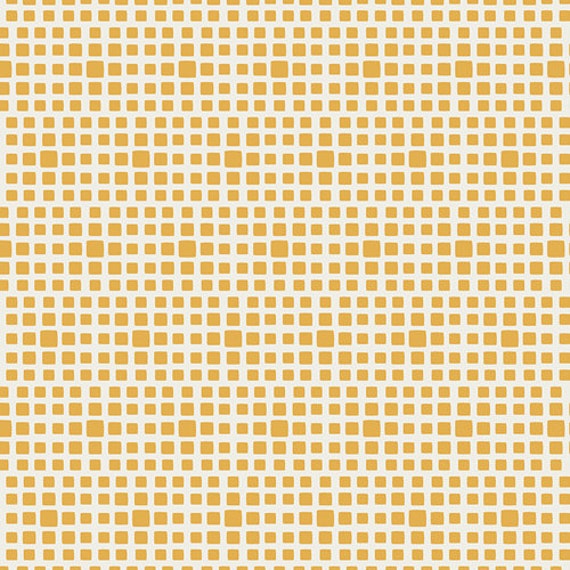
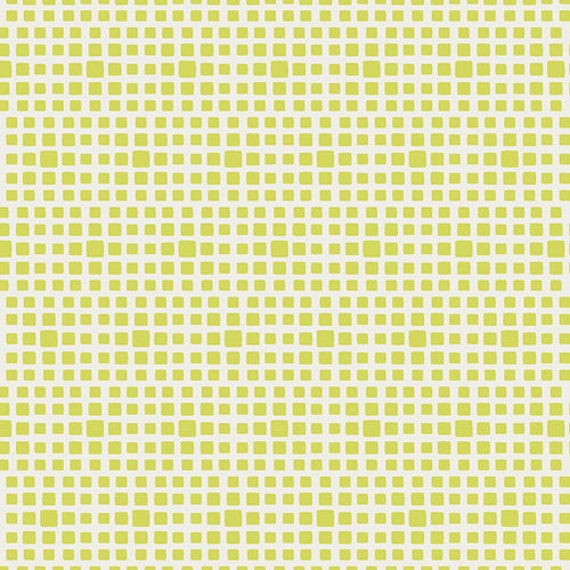
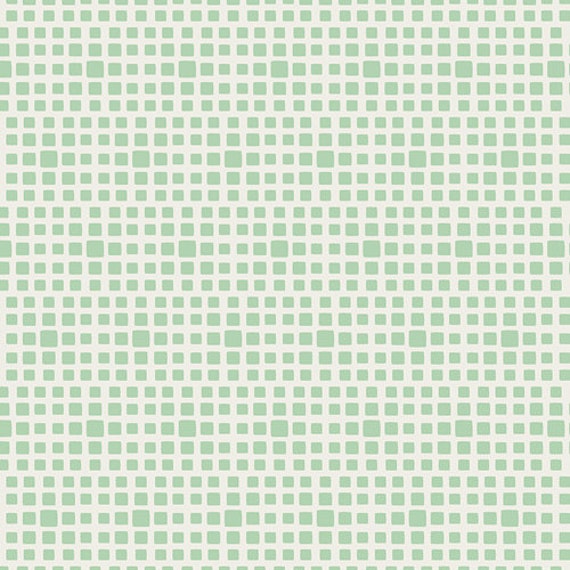
Squared Elements by Art Gallery Fabrics
I'm so excited about this new basic from Art Gallery Fabrics
Squared Elements
The fabric will arrive early next week and I will begin shipping it out on Wednesday.
I currently have a coupon code running thru Sunday 6/23/13 if you would like to preorder
Coupon Code SUMMERFUN 20% off for orders $35 and up.
Click here to head to the shop
I am getting these eight basic colors to carry in the shop.
 |
| Watermelon |
 |
| Rosewater |
 |
| Honeycomb |
 |
| Lemongrass |
 |
| Seafoam |
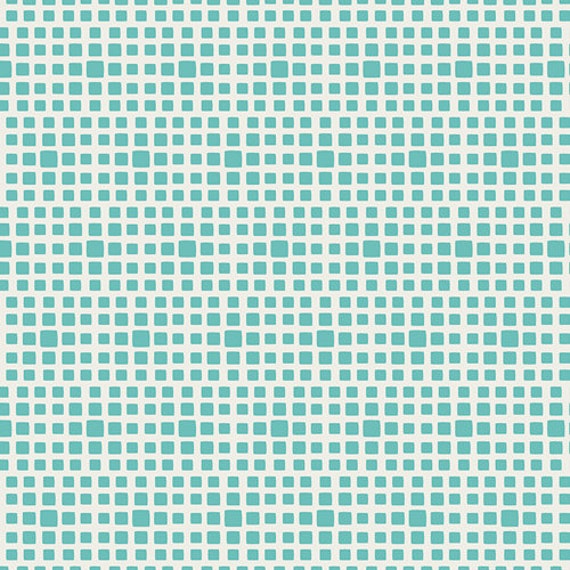 |
| Turquoise |
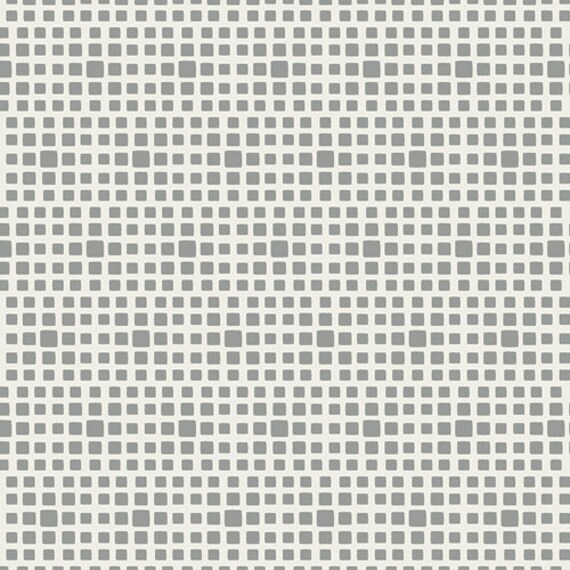 |
| Shadow |
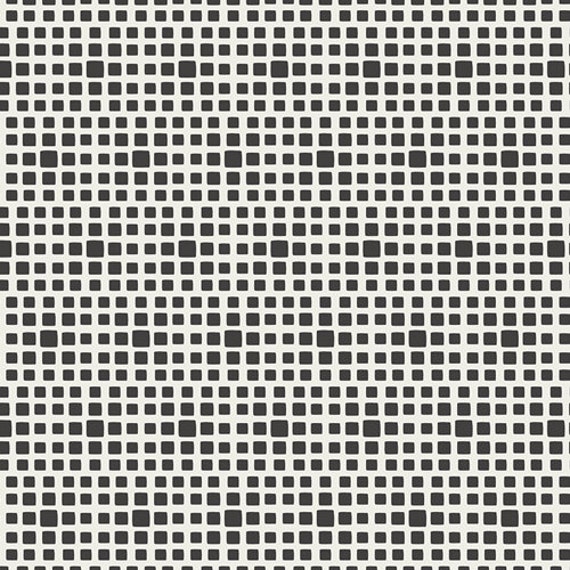 |
| Noir |
I think these fabrics will make a great stable fabric that is a must in any fabric stash.
I know I already have plans to use it in a Super Tote
I can see it used for the lining and sides.
I also want to make pinwheel blocks with it.
This fabric is going to be so much fun!!!
Subscribe to:
Comments (Atom)

